A Designer’s Wedding
Designed down to the pearl for the happy couple.
This project chronicles the 10 month journey of me meticulously designing every detail of my wedding so that it reflected mine and my husband’s story.
Every detail, from flowers, and smallest decorative elements, to the big things like making my own dress, I wanted to design a wedding like no other.
Services: Identity Design, Brand Design, Print Design, Fashion and Accessory Design, Event Design
Color Palette and Textures
Starting off with a color palette/textures before anything else really allowed me to have a solid foundation of where I wanted to go with all of the elements I was going to be designing.
The inspiration of the color palette really came from colors I have an affinity to like green, as well as incorporating the fall colors of the season.
Typefaces and Type Pairings
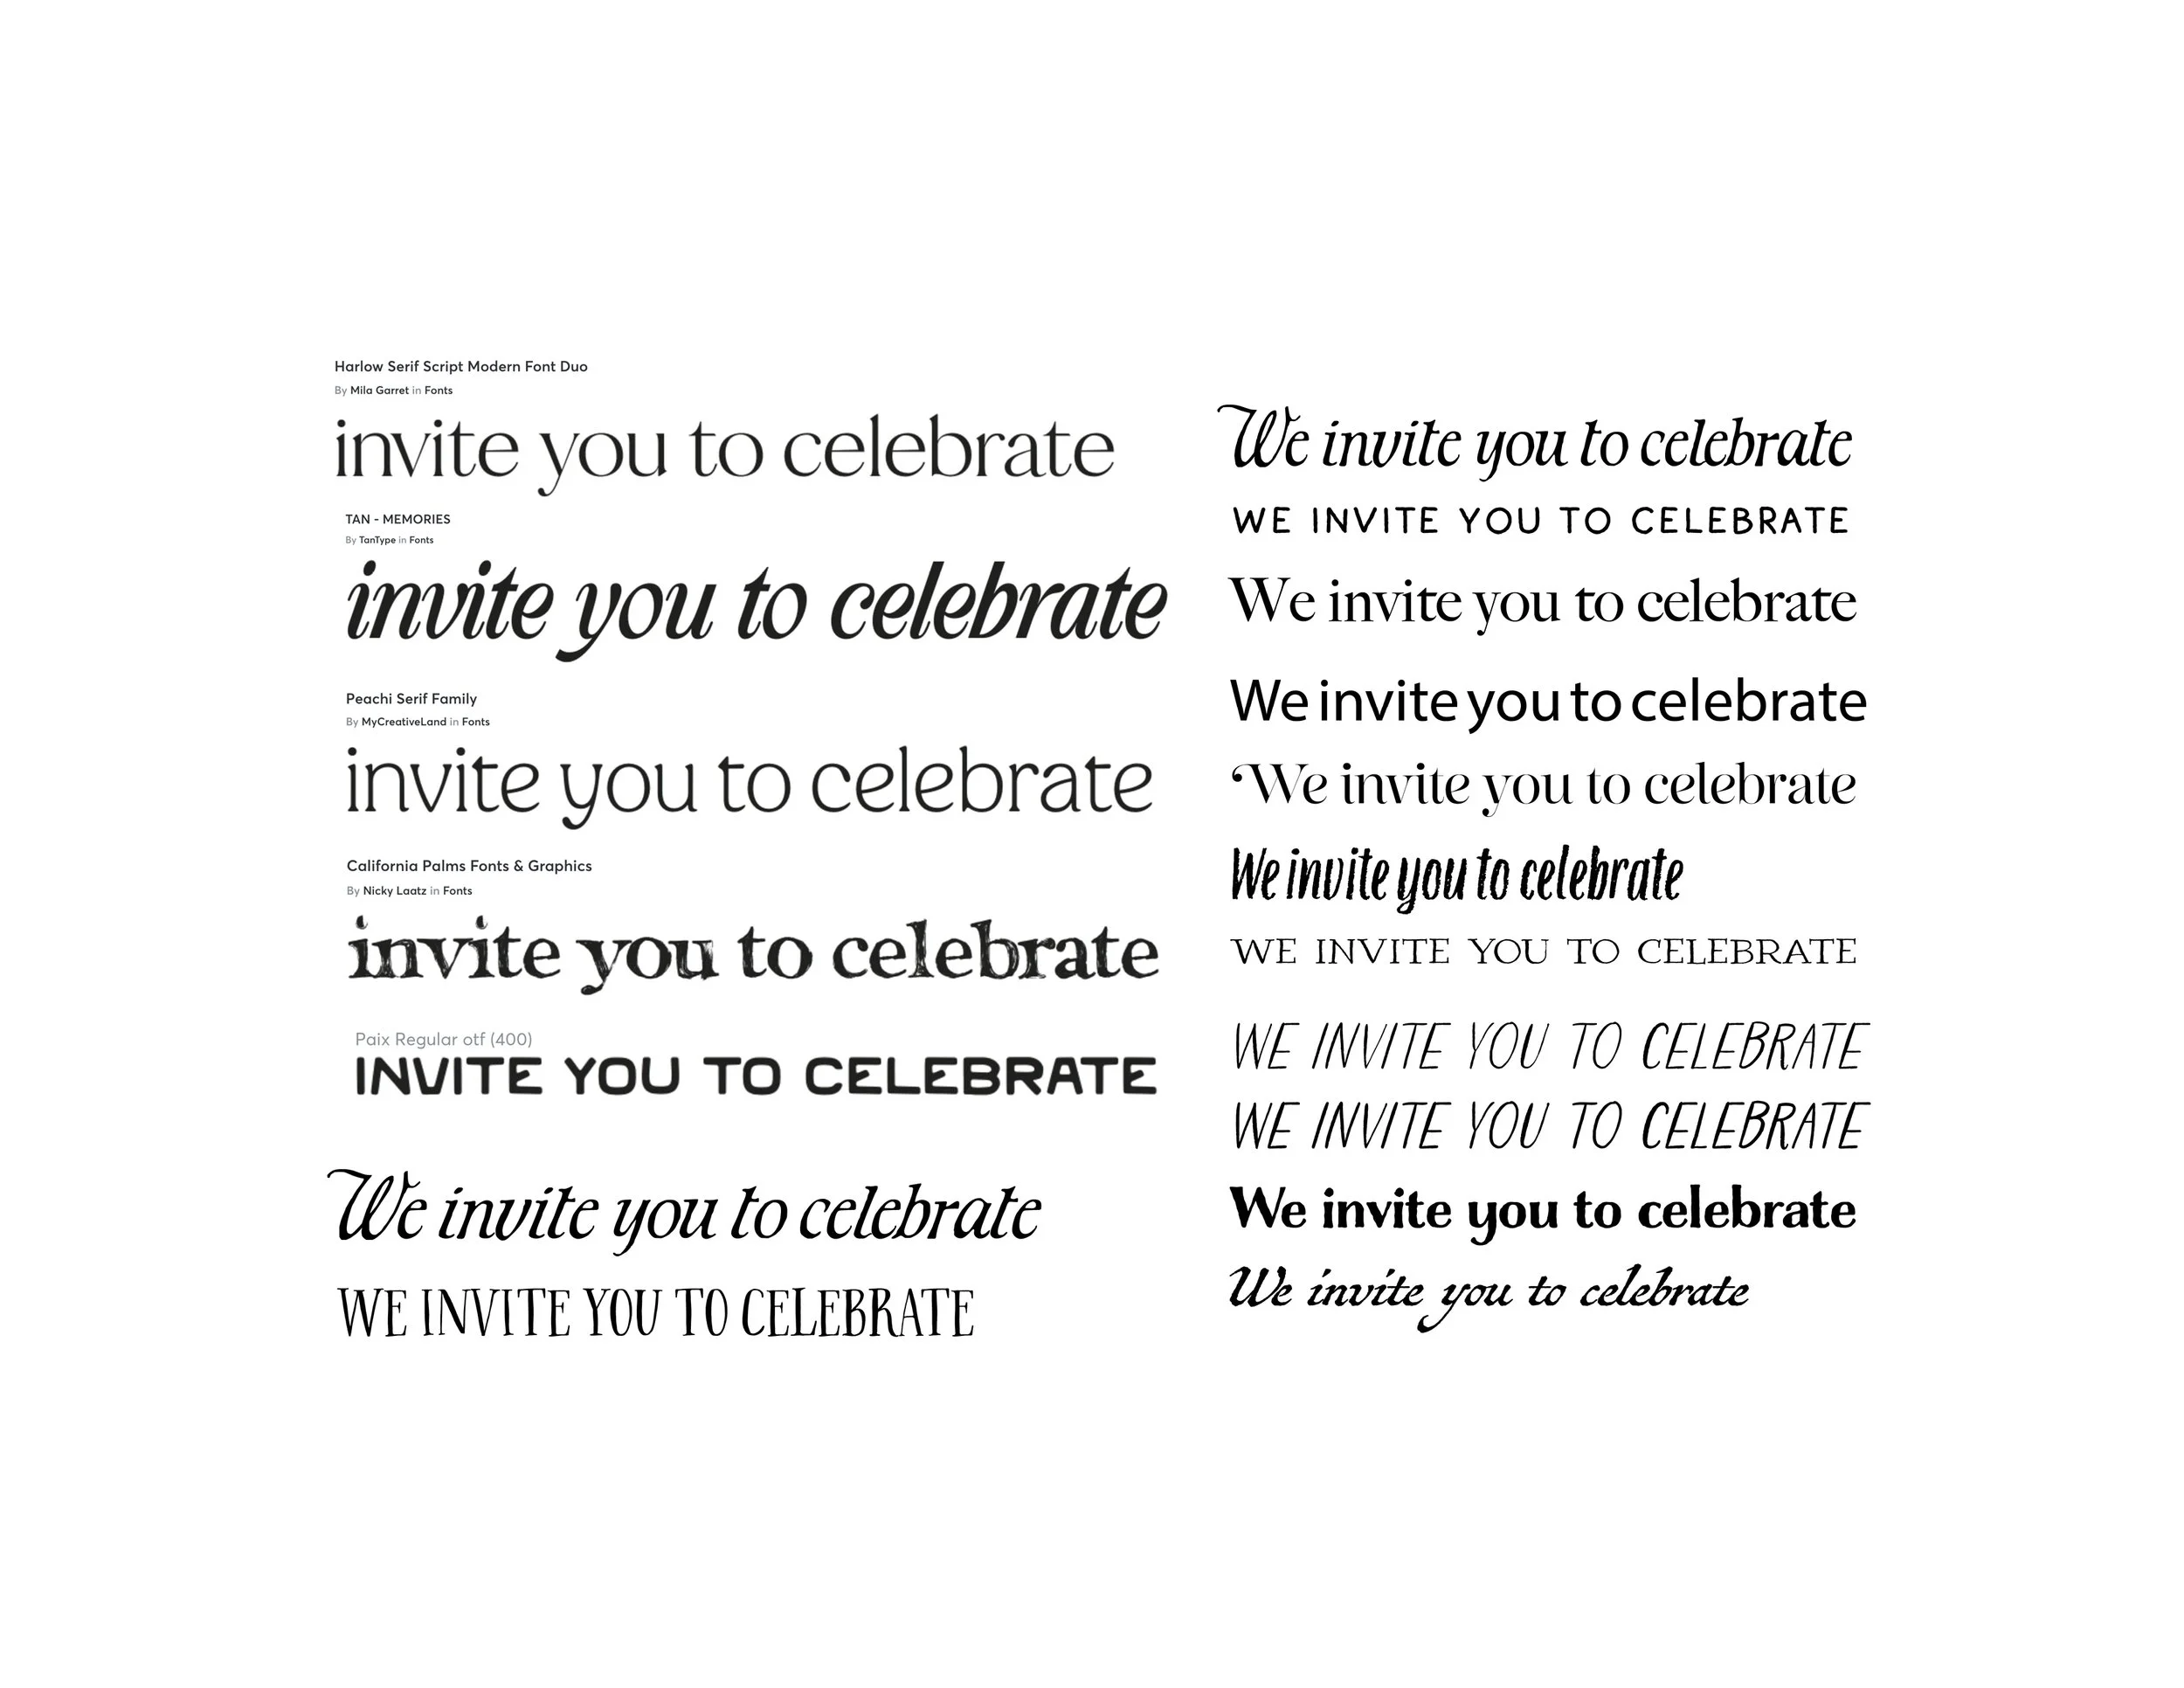
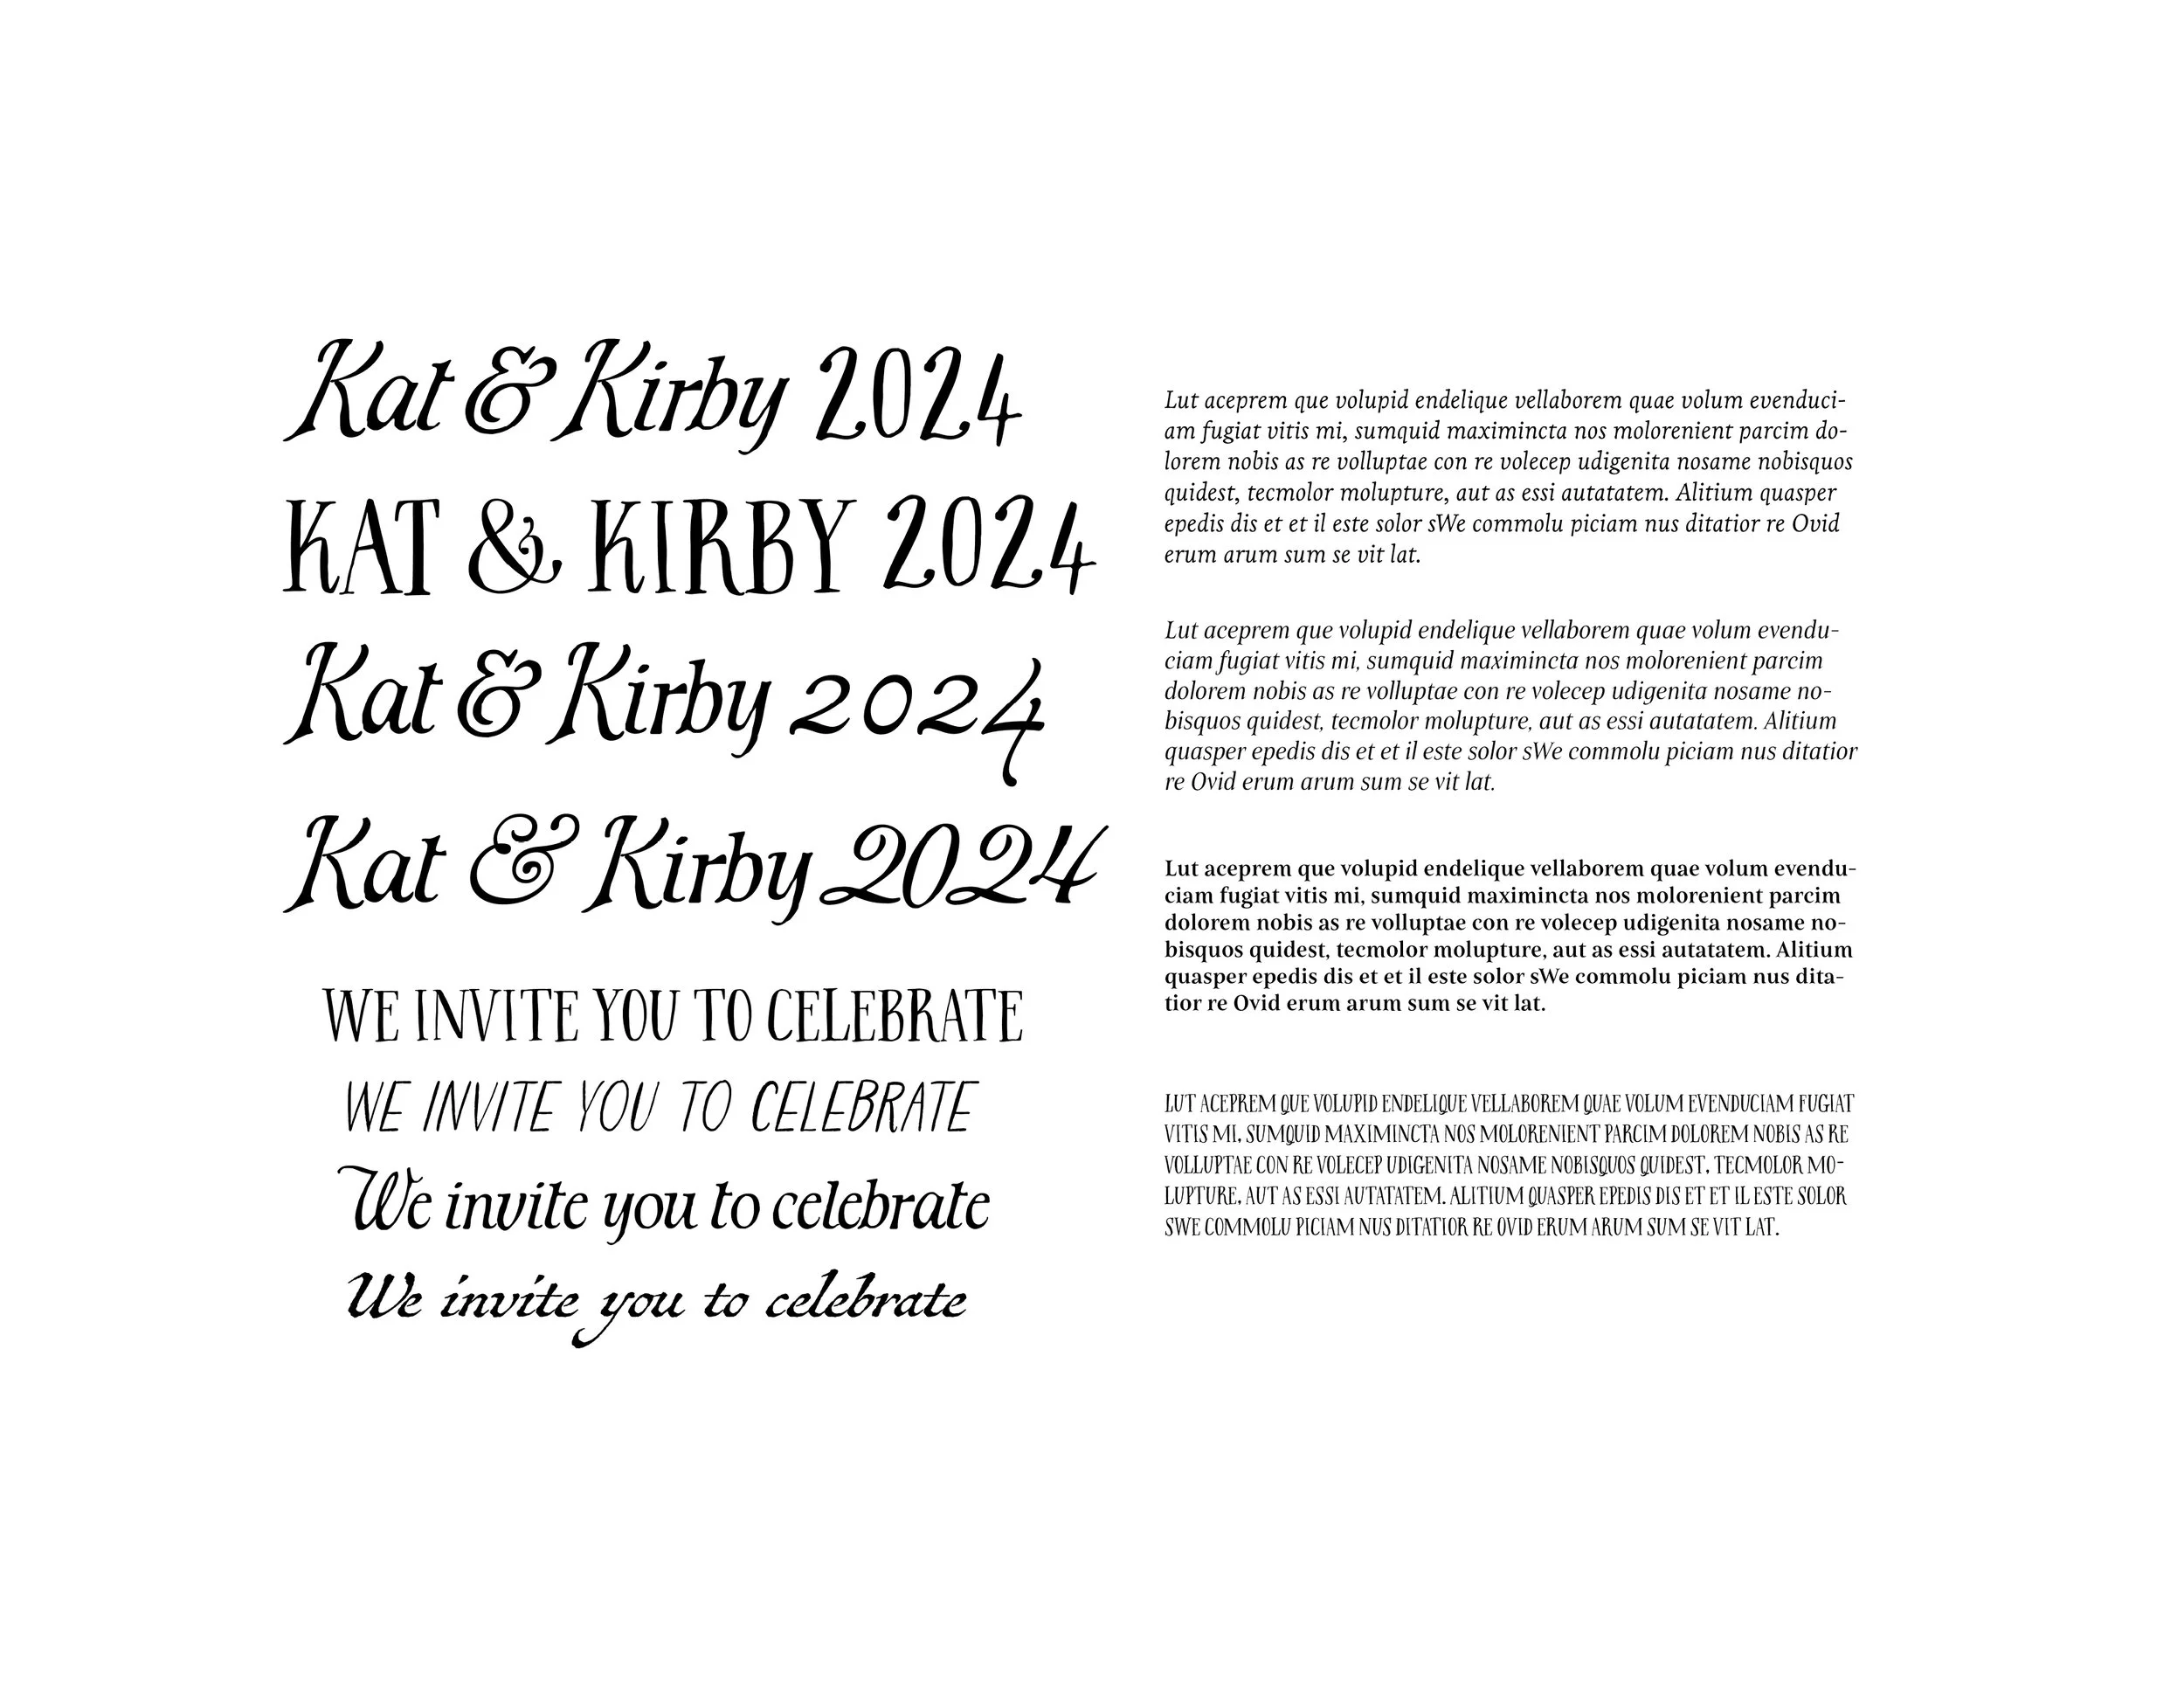
Once I found the perfect colors for our wedding, it was time to move on to finding the typefaces. After what felt like hours spent on creative market, I finally found a few and bought them to start designing.
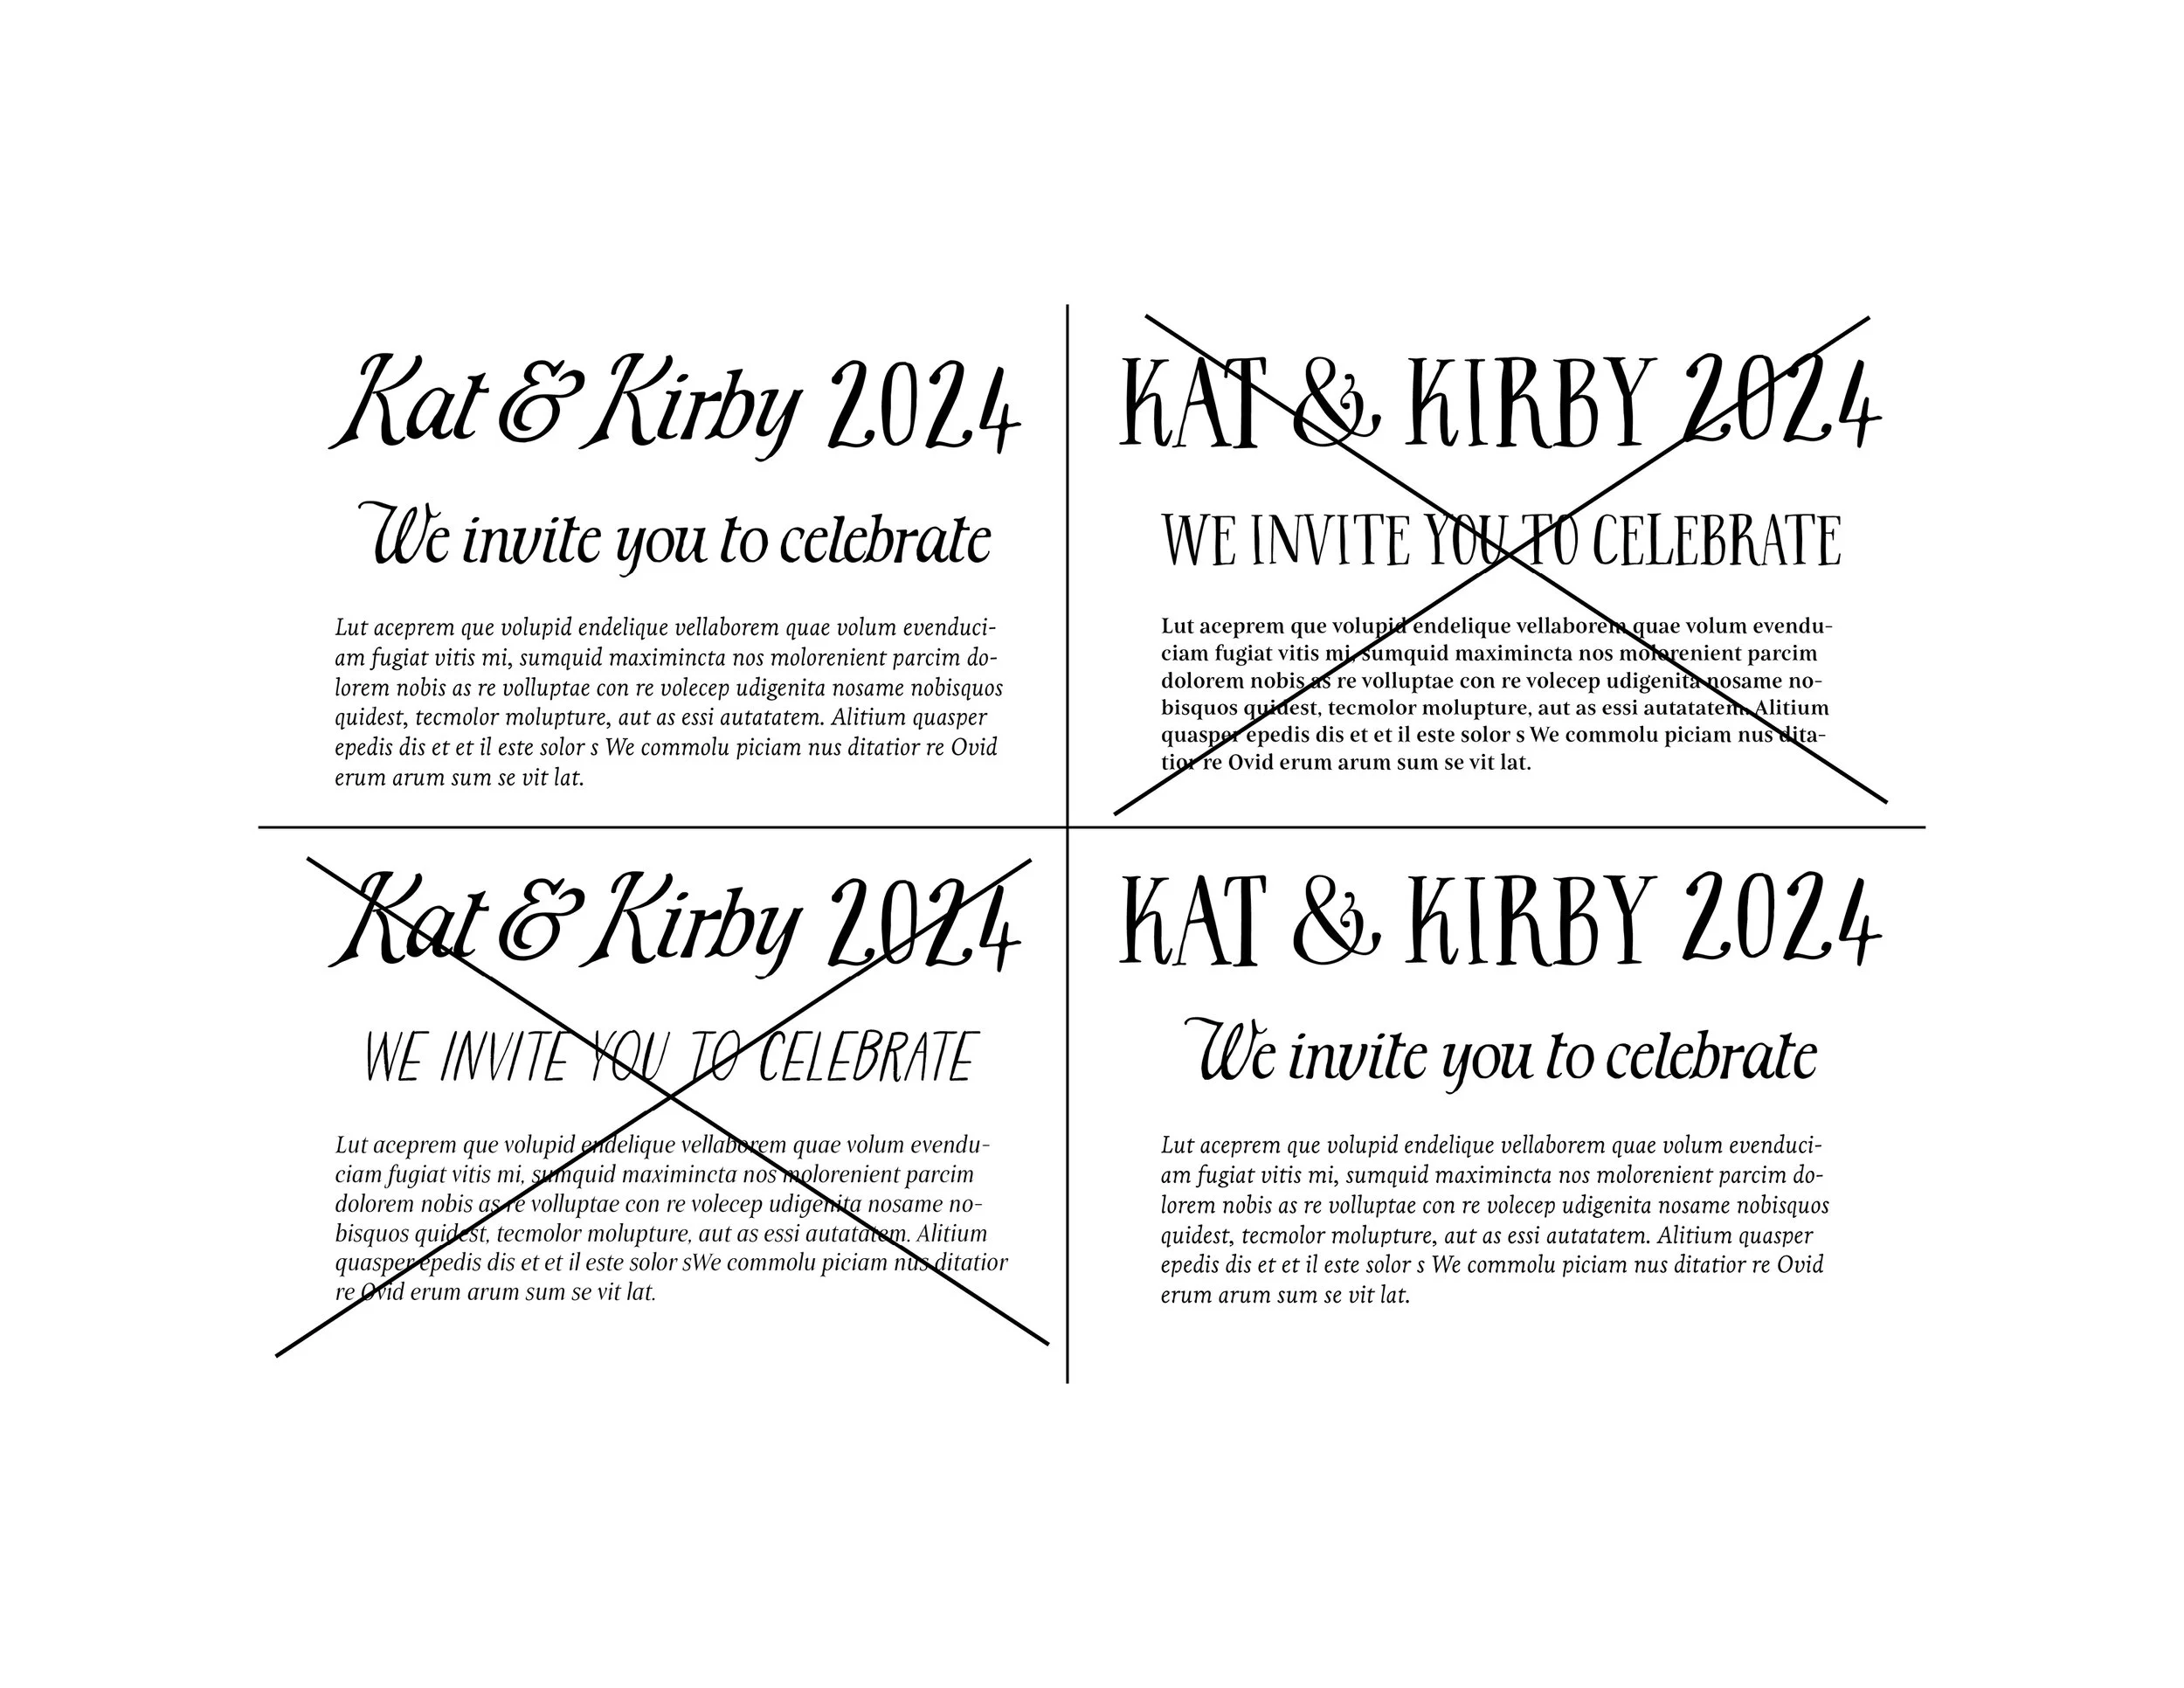
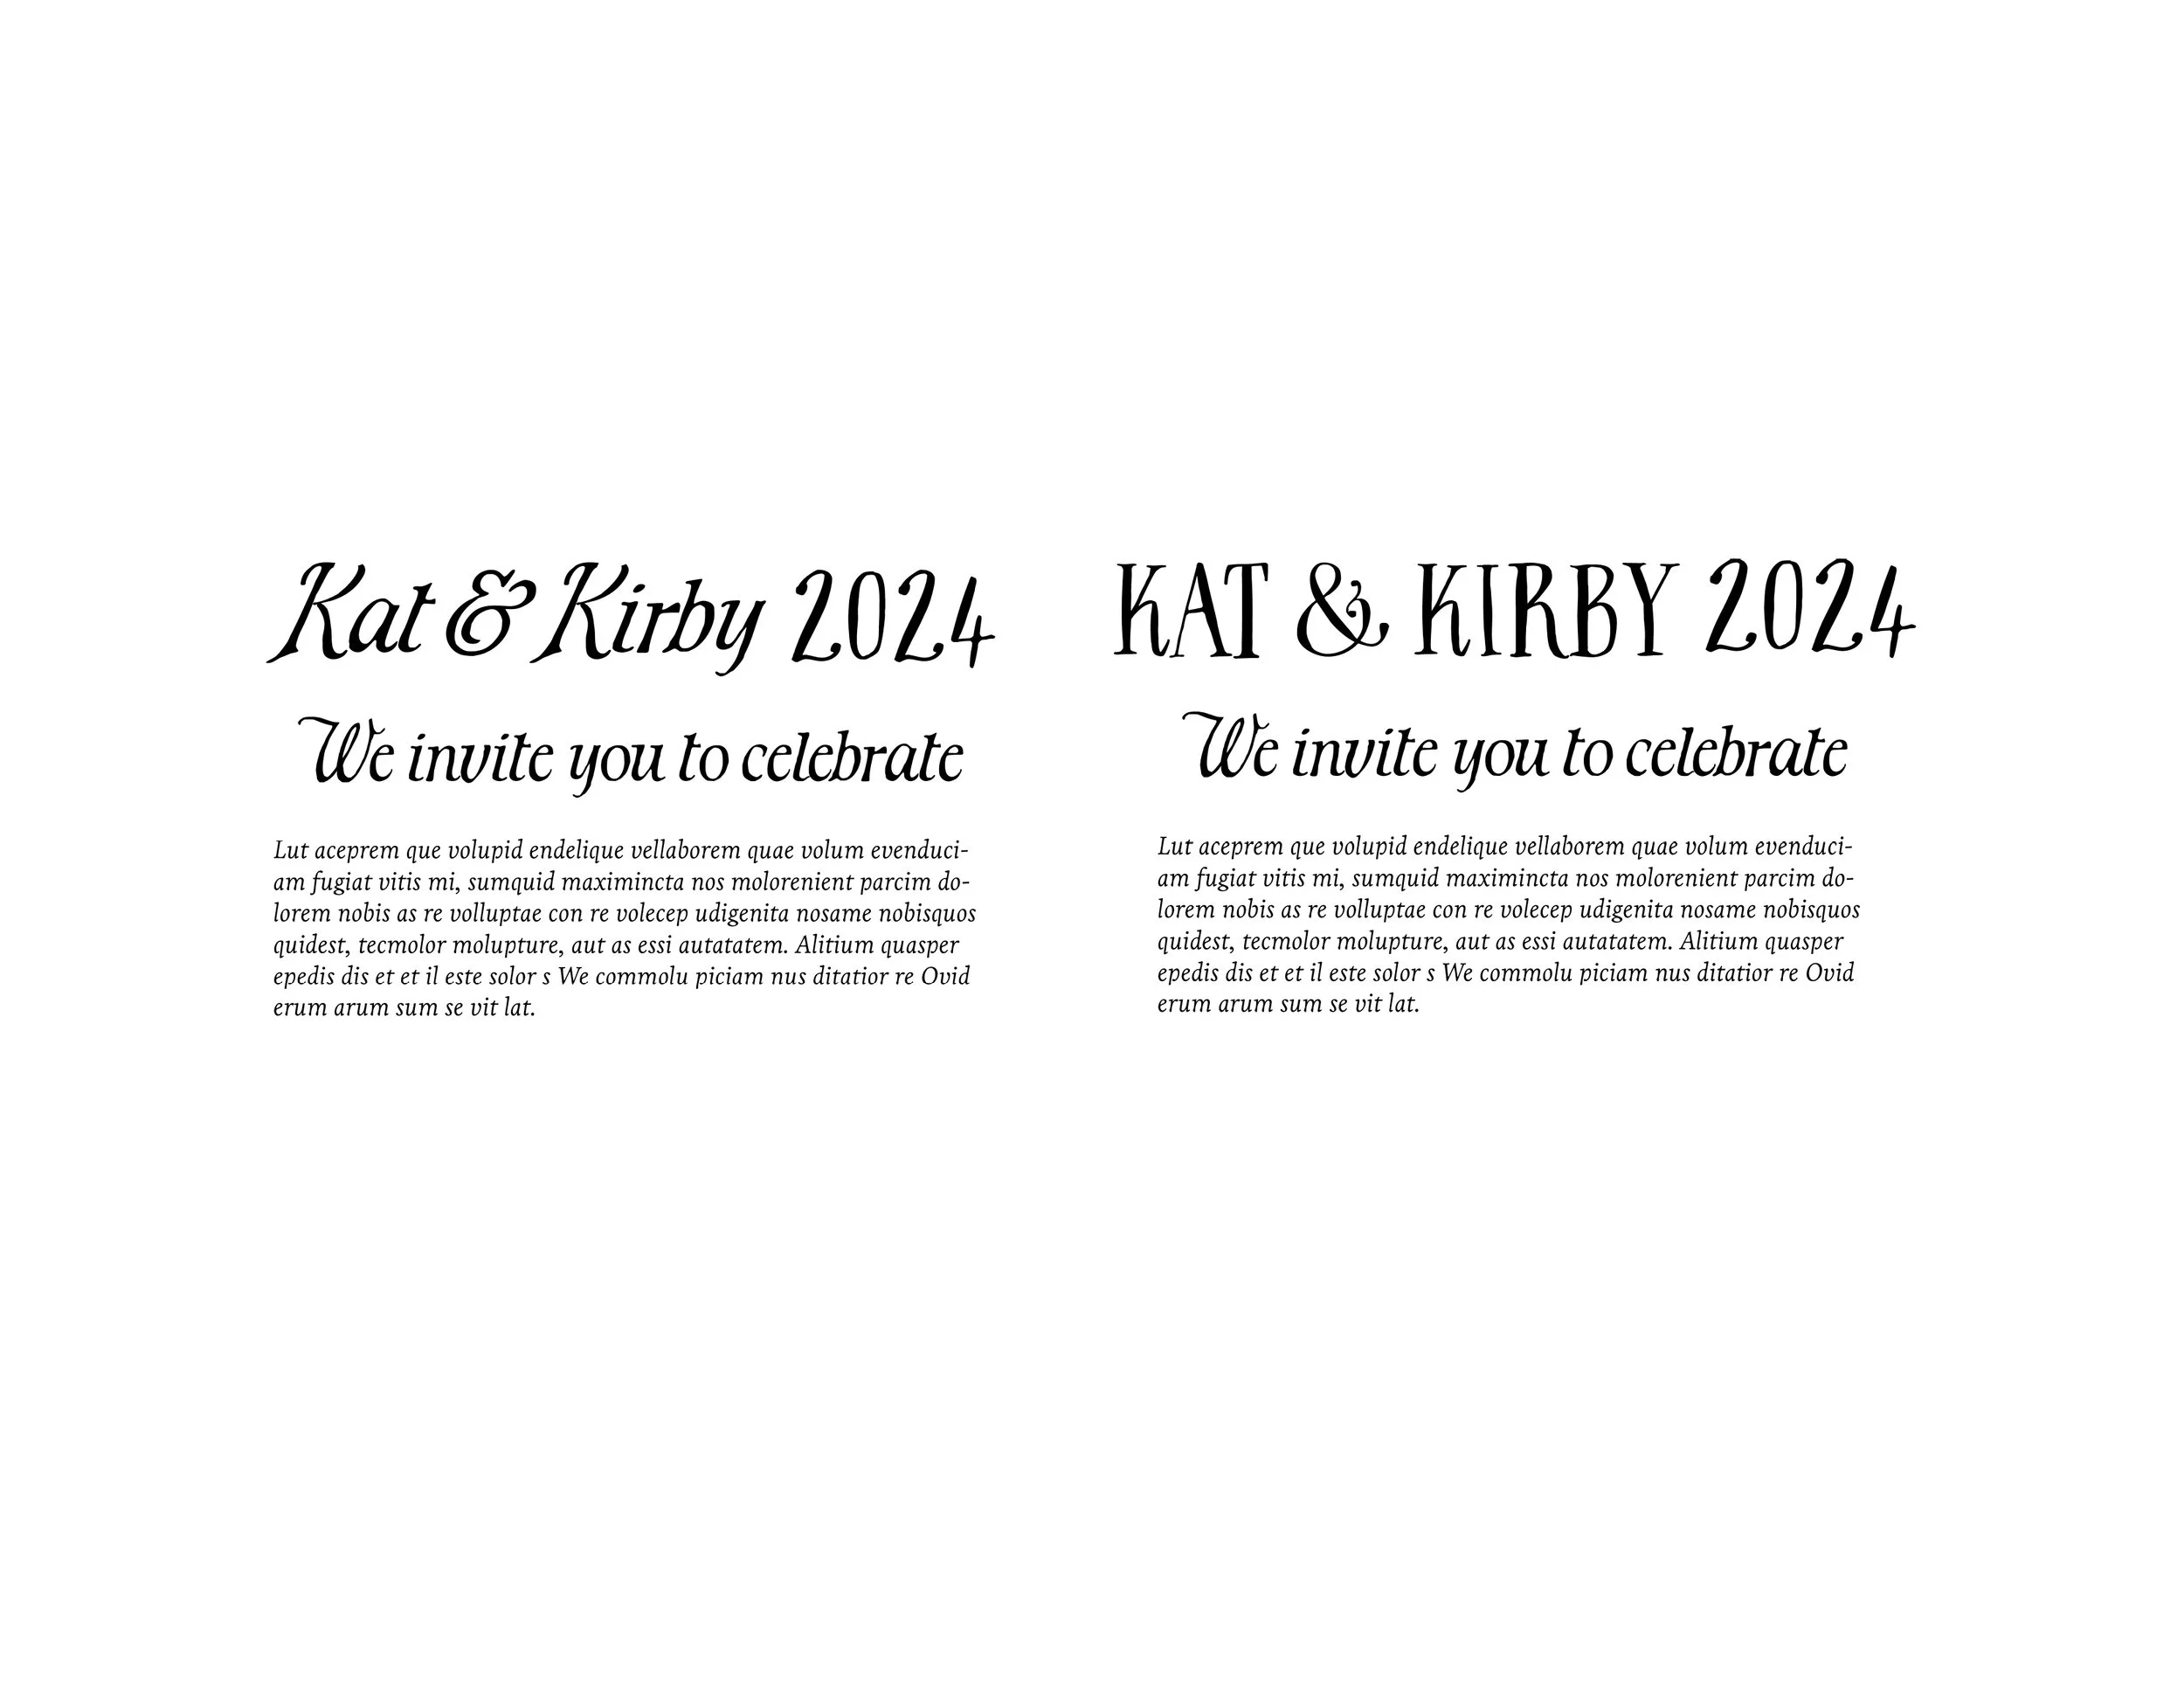
Below is the process in which I chose the different typefaces and pairings that I was going to use for designing all of the save the dates, invitations, decor etc.
Save the dates:
Design and Creation Process
I played around with what I thought I wanted for our design elements for both our save the dates and invitations. I knew I would want a mix of a slight traditional design with my own flare and elements to it.
The floral/diamond looking shapes was my in-between version of the very lacy traditional wedding design and the very thin sunbursts seen on things like tarot cards for example. I also used our birth flowers for the adornments in the corners. As subtle as it may seem I really wanted to put really personal elements in that meant a lot to us.


Final Save the Date Designs
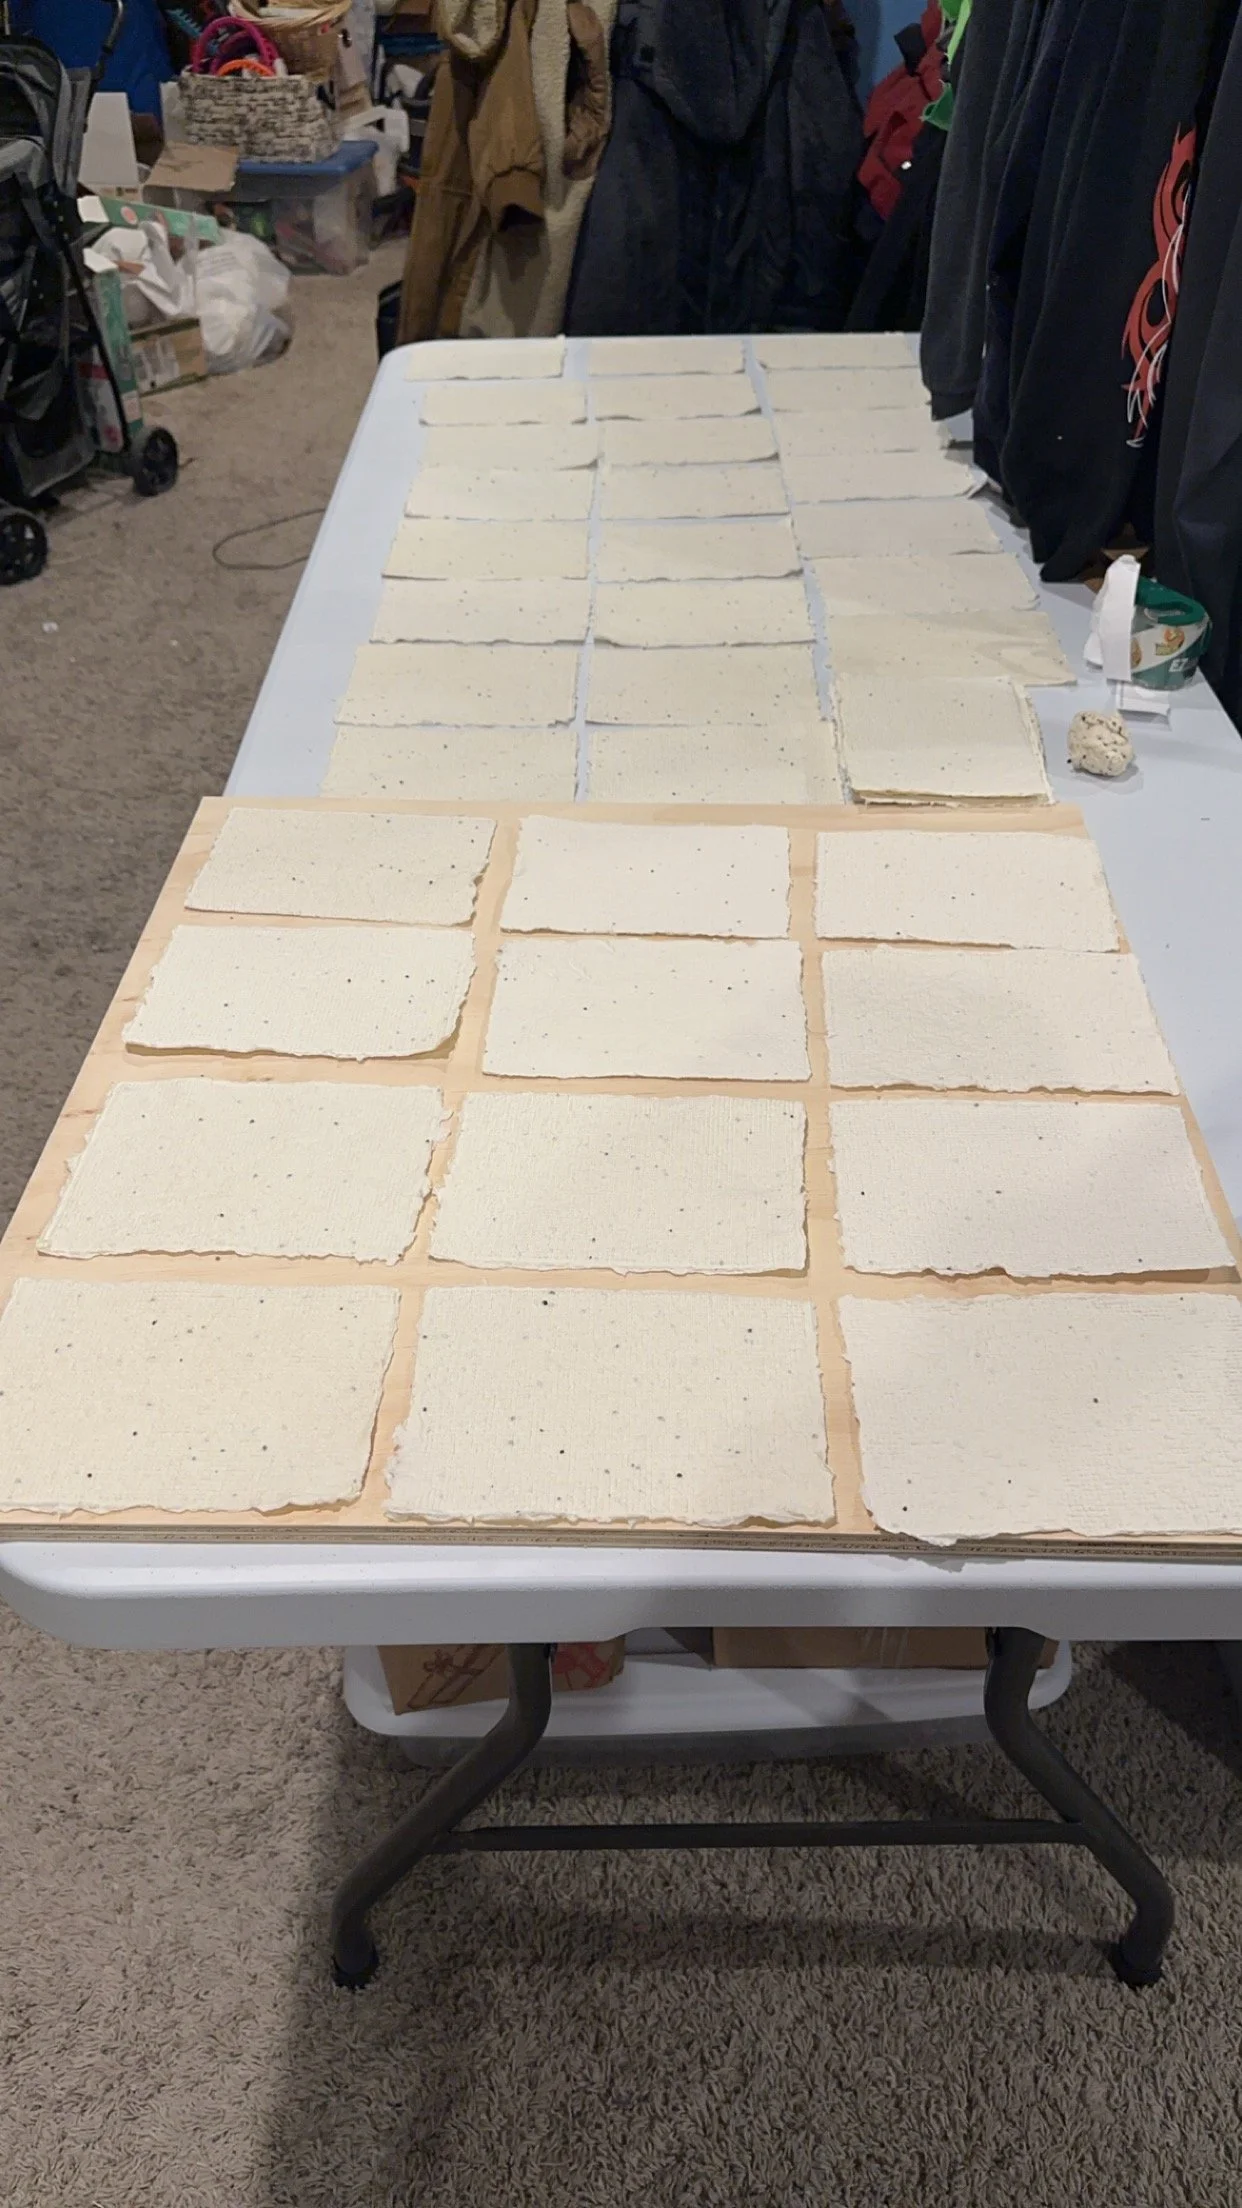
Making Seed Paper
and the failure that became of it
I wanted to be able to have an eco friendly(ish) wedding as much as I could (at least at the beginning), and that for me looked like using seed paper for my save the dates and invitations.
I had made paper before, but not in about a decade or more and never seed paper so there was a lot of testing involved, especially with seeds and their various shapes and sizes. In the end I ended up with poppy seeds (my birth flower and they were super small).
I wanted our guests to be able to plant their save the dates when they received their invitations so that they could have flowers blooming throughout the summer leading up to our wedding… a wonderful idea, but as you are about to read, the execution was…shall I say lacking…
The failure:
Not using a binder in the paper and it’s severe texture didn’t make it an easily printable paper either through block printing or screen printing, of which I tried both. I would sometimes get an OK print, but 80% of the time the paper wouldn’t fully come in contact with the design, or I would get fibers being pulled off of the paper from the wetness of the ink.
On to the images of this process :)




Screen Printing
Once I had the save the dates design done, I was ready to get started on printing them!
My first ever class at the college I ended up going to was on printmaking, so that’s actually how I got my start at MIAD, and has always been in the background. I hadn’t screen printed in about a year from this point, so there was definitely some trial and error while relearning my technique.
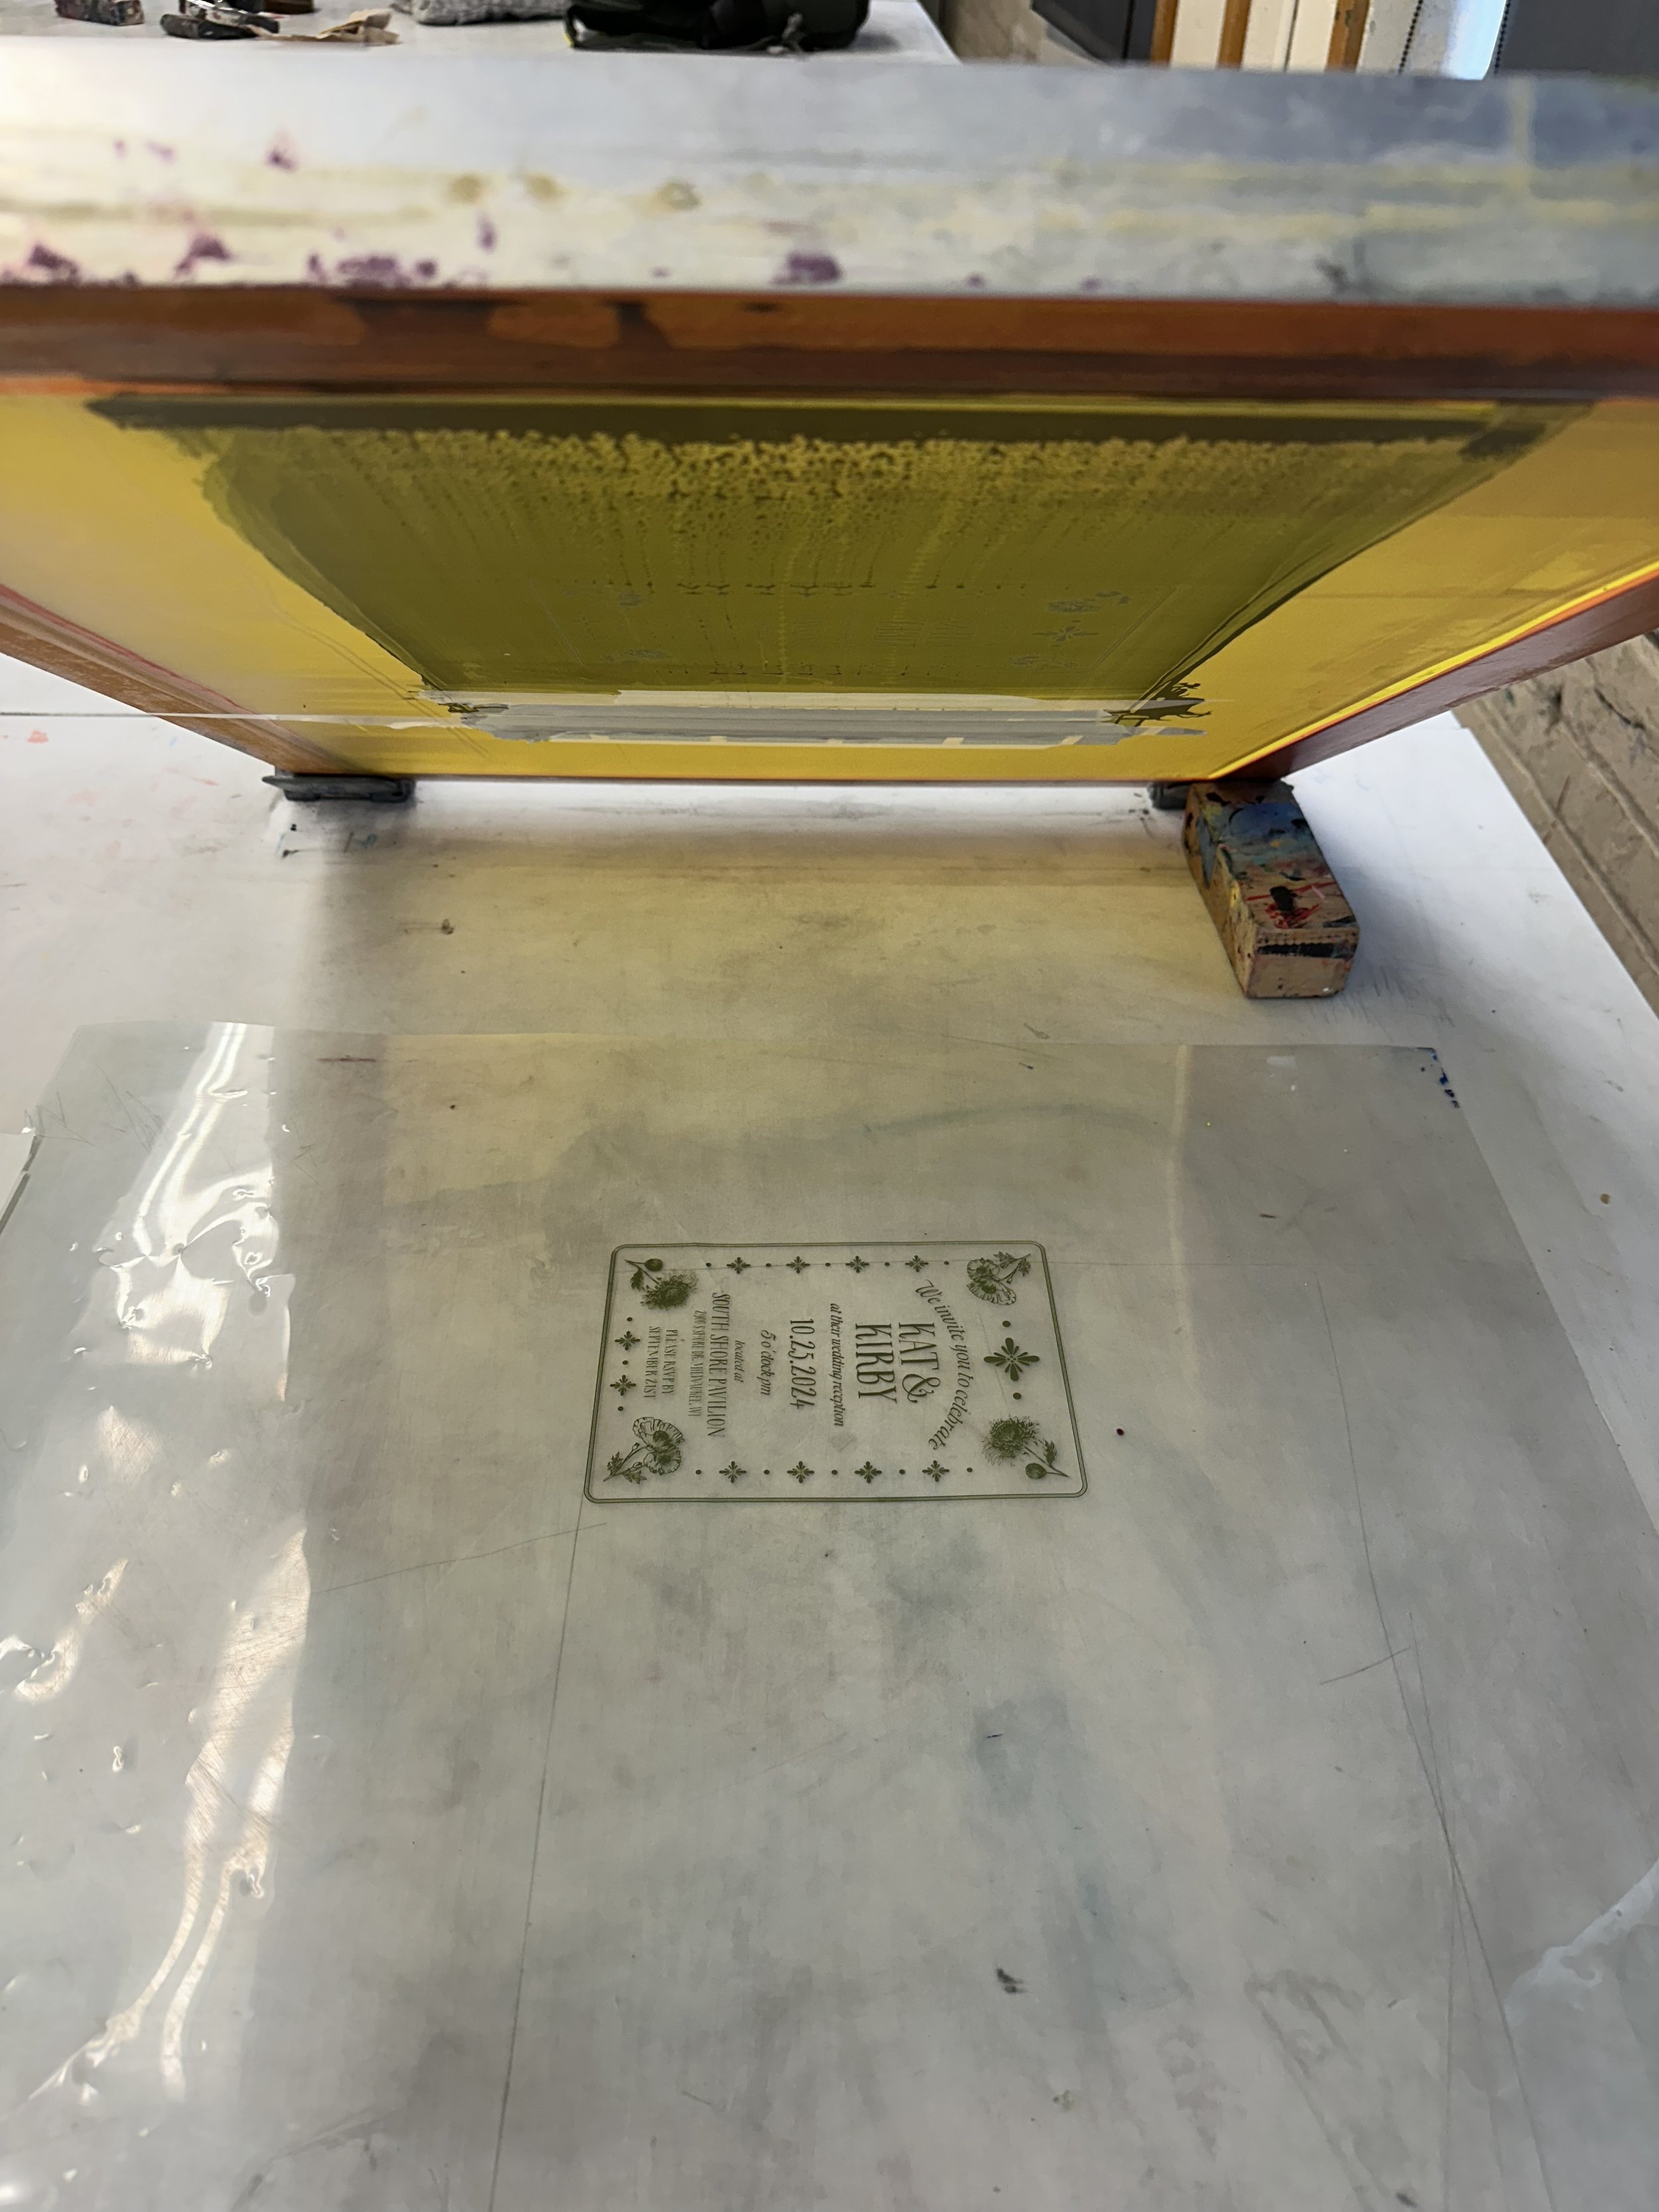
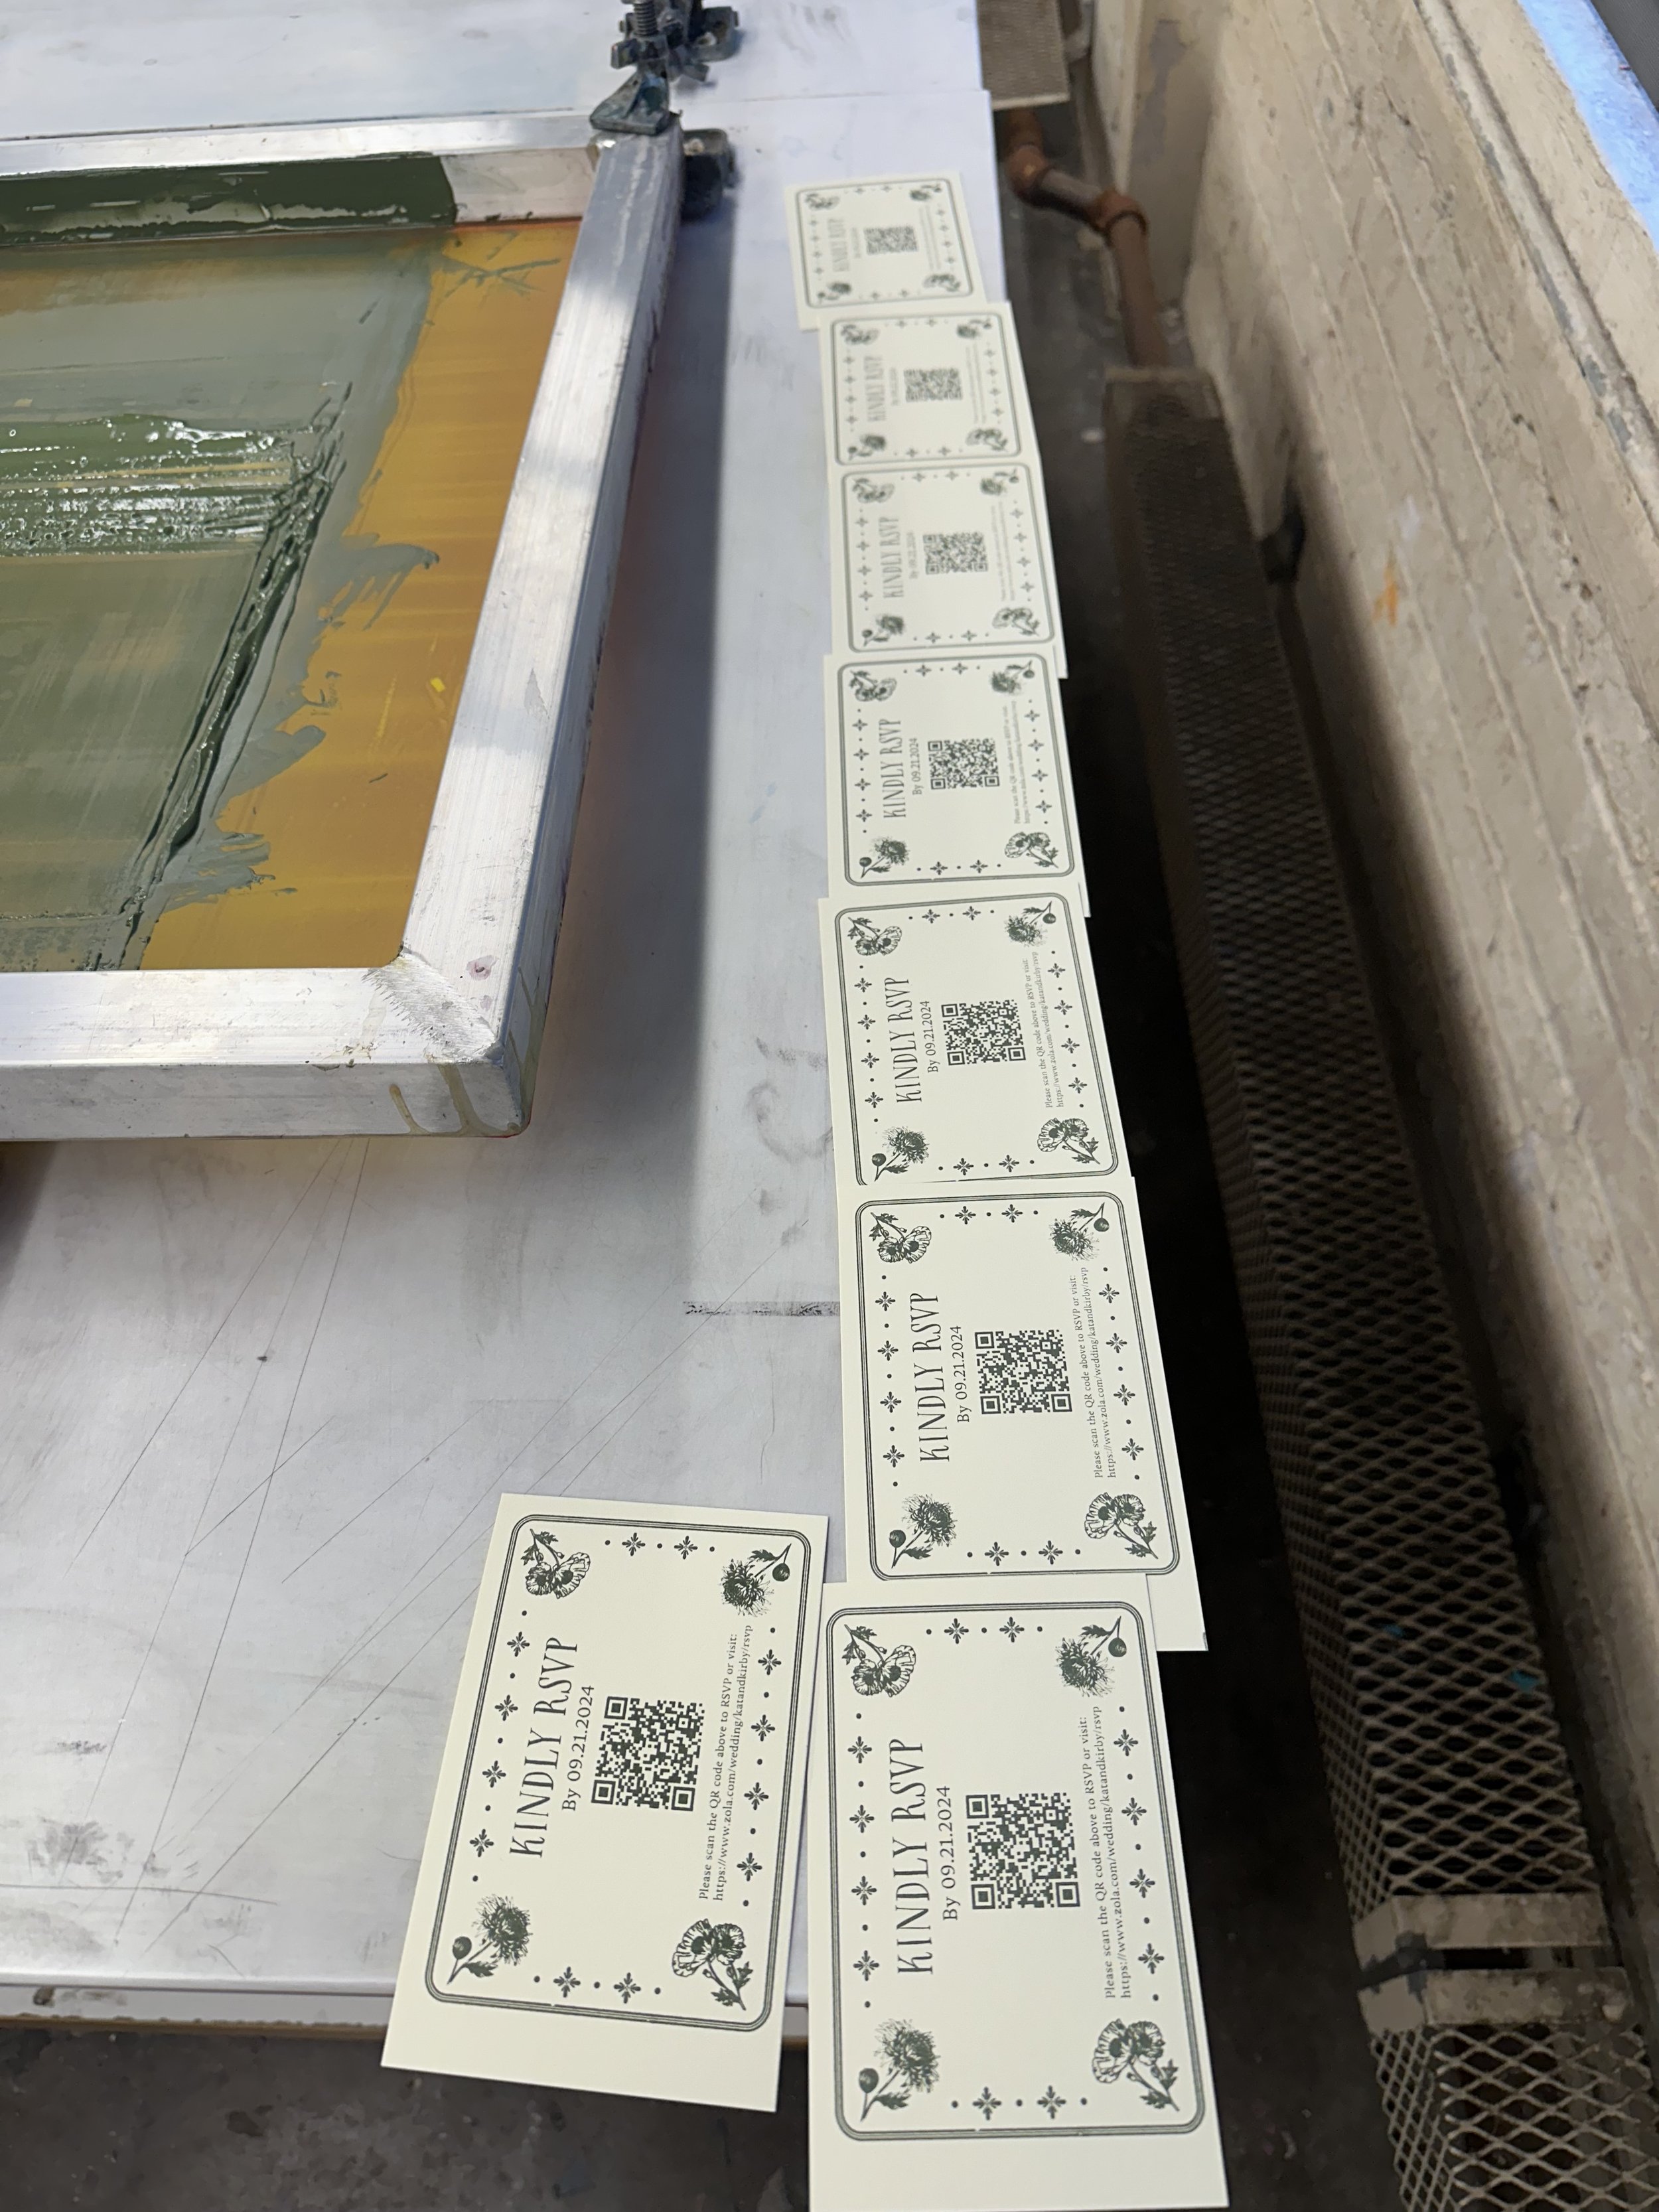
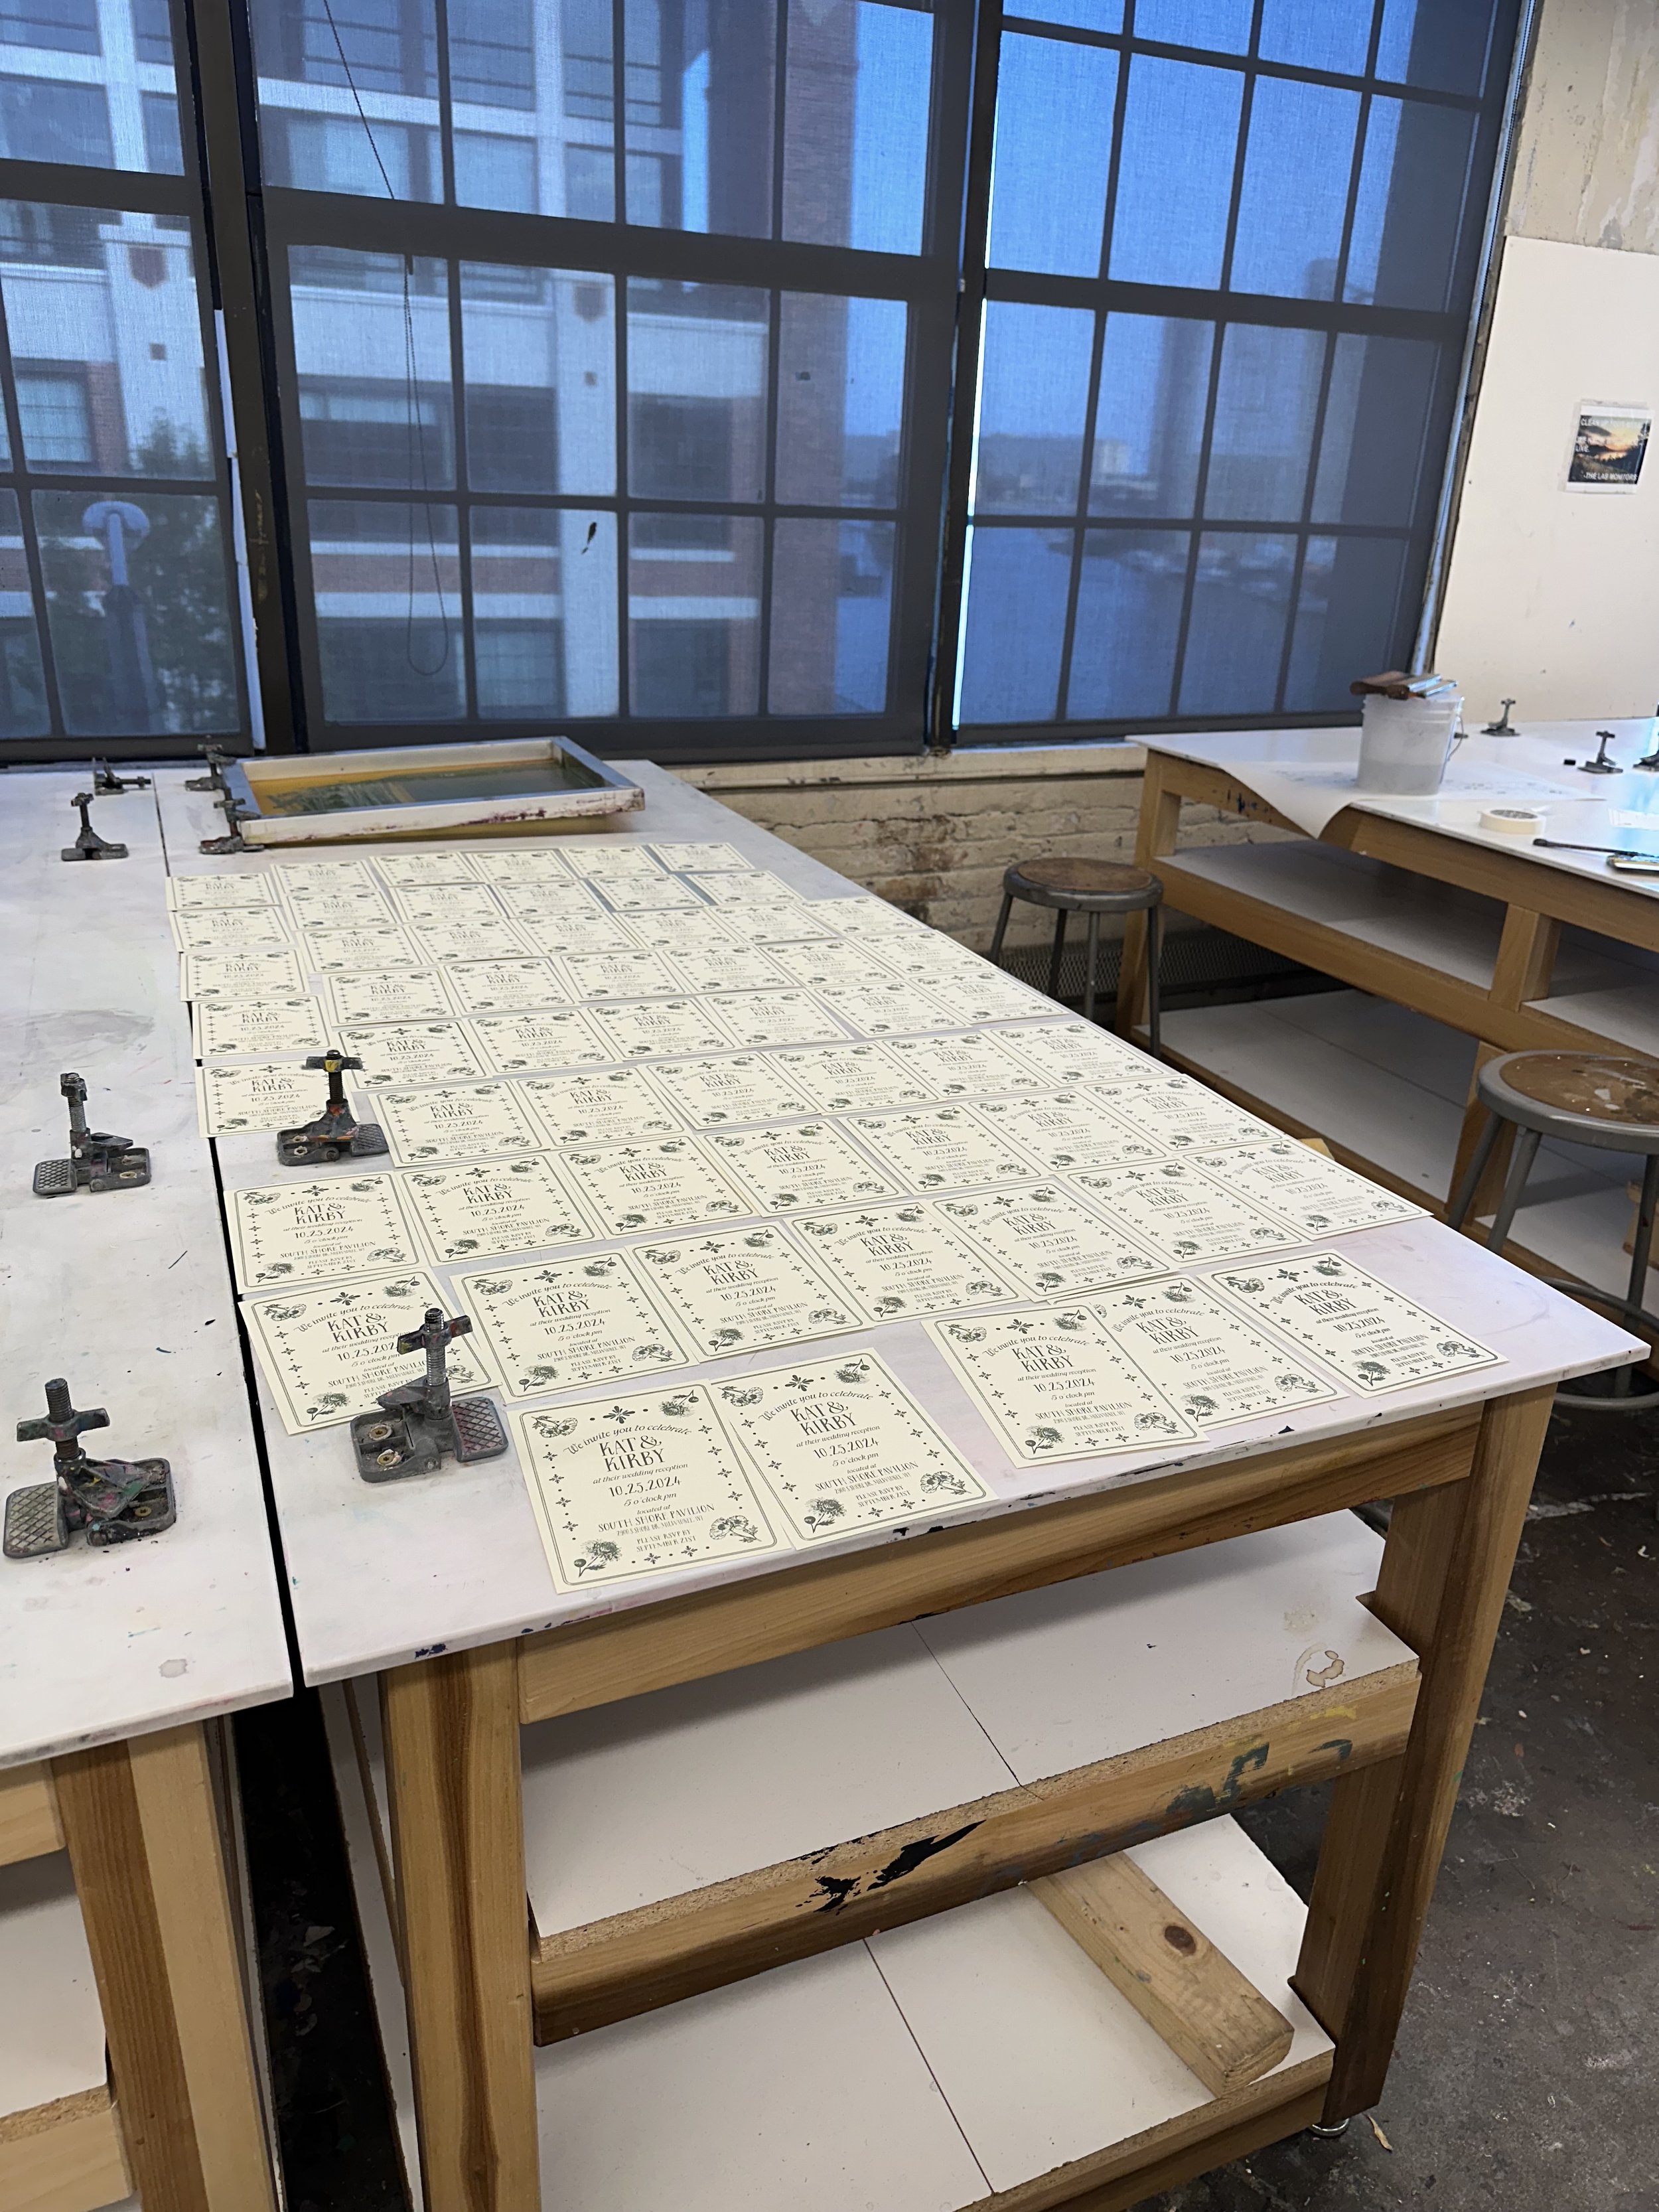
Designing the Invitations and RSVP Cards
For the invitations and the RSVPs I kept the design very similar, but adjusted slightly to fit the needs.
Similar to the save the dates, I screen printed them only using a glittery green ink this time to match our color scheme.


Assembly of the Invitations
Now that I had the actual invitations and RSVPs ready to go into envelopes, I had to put them all together!
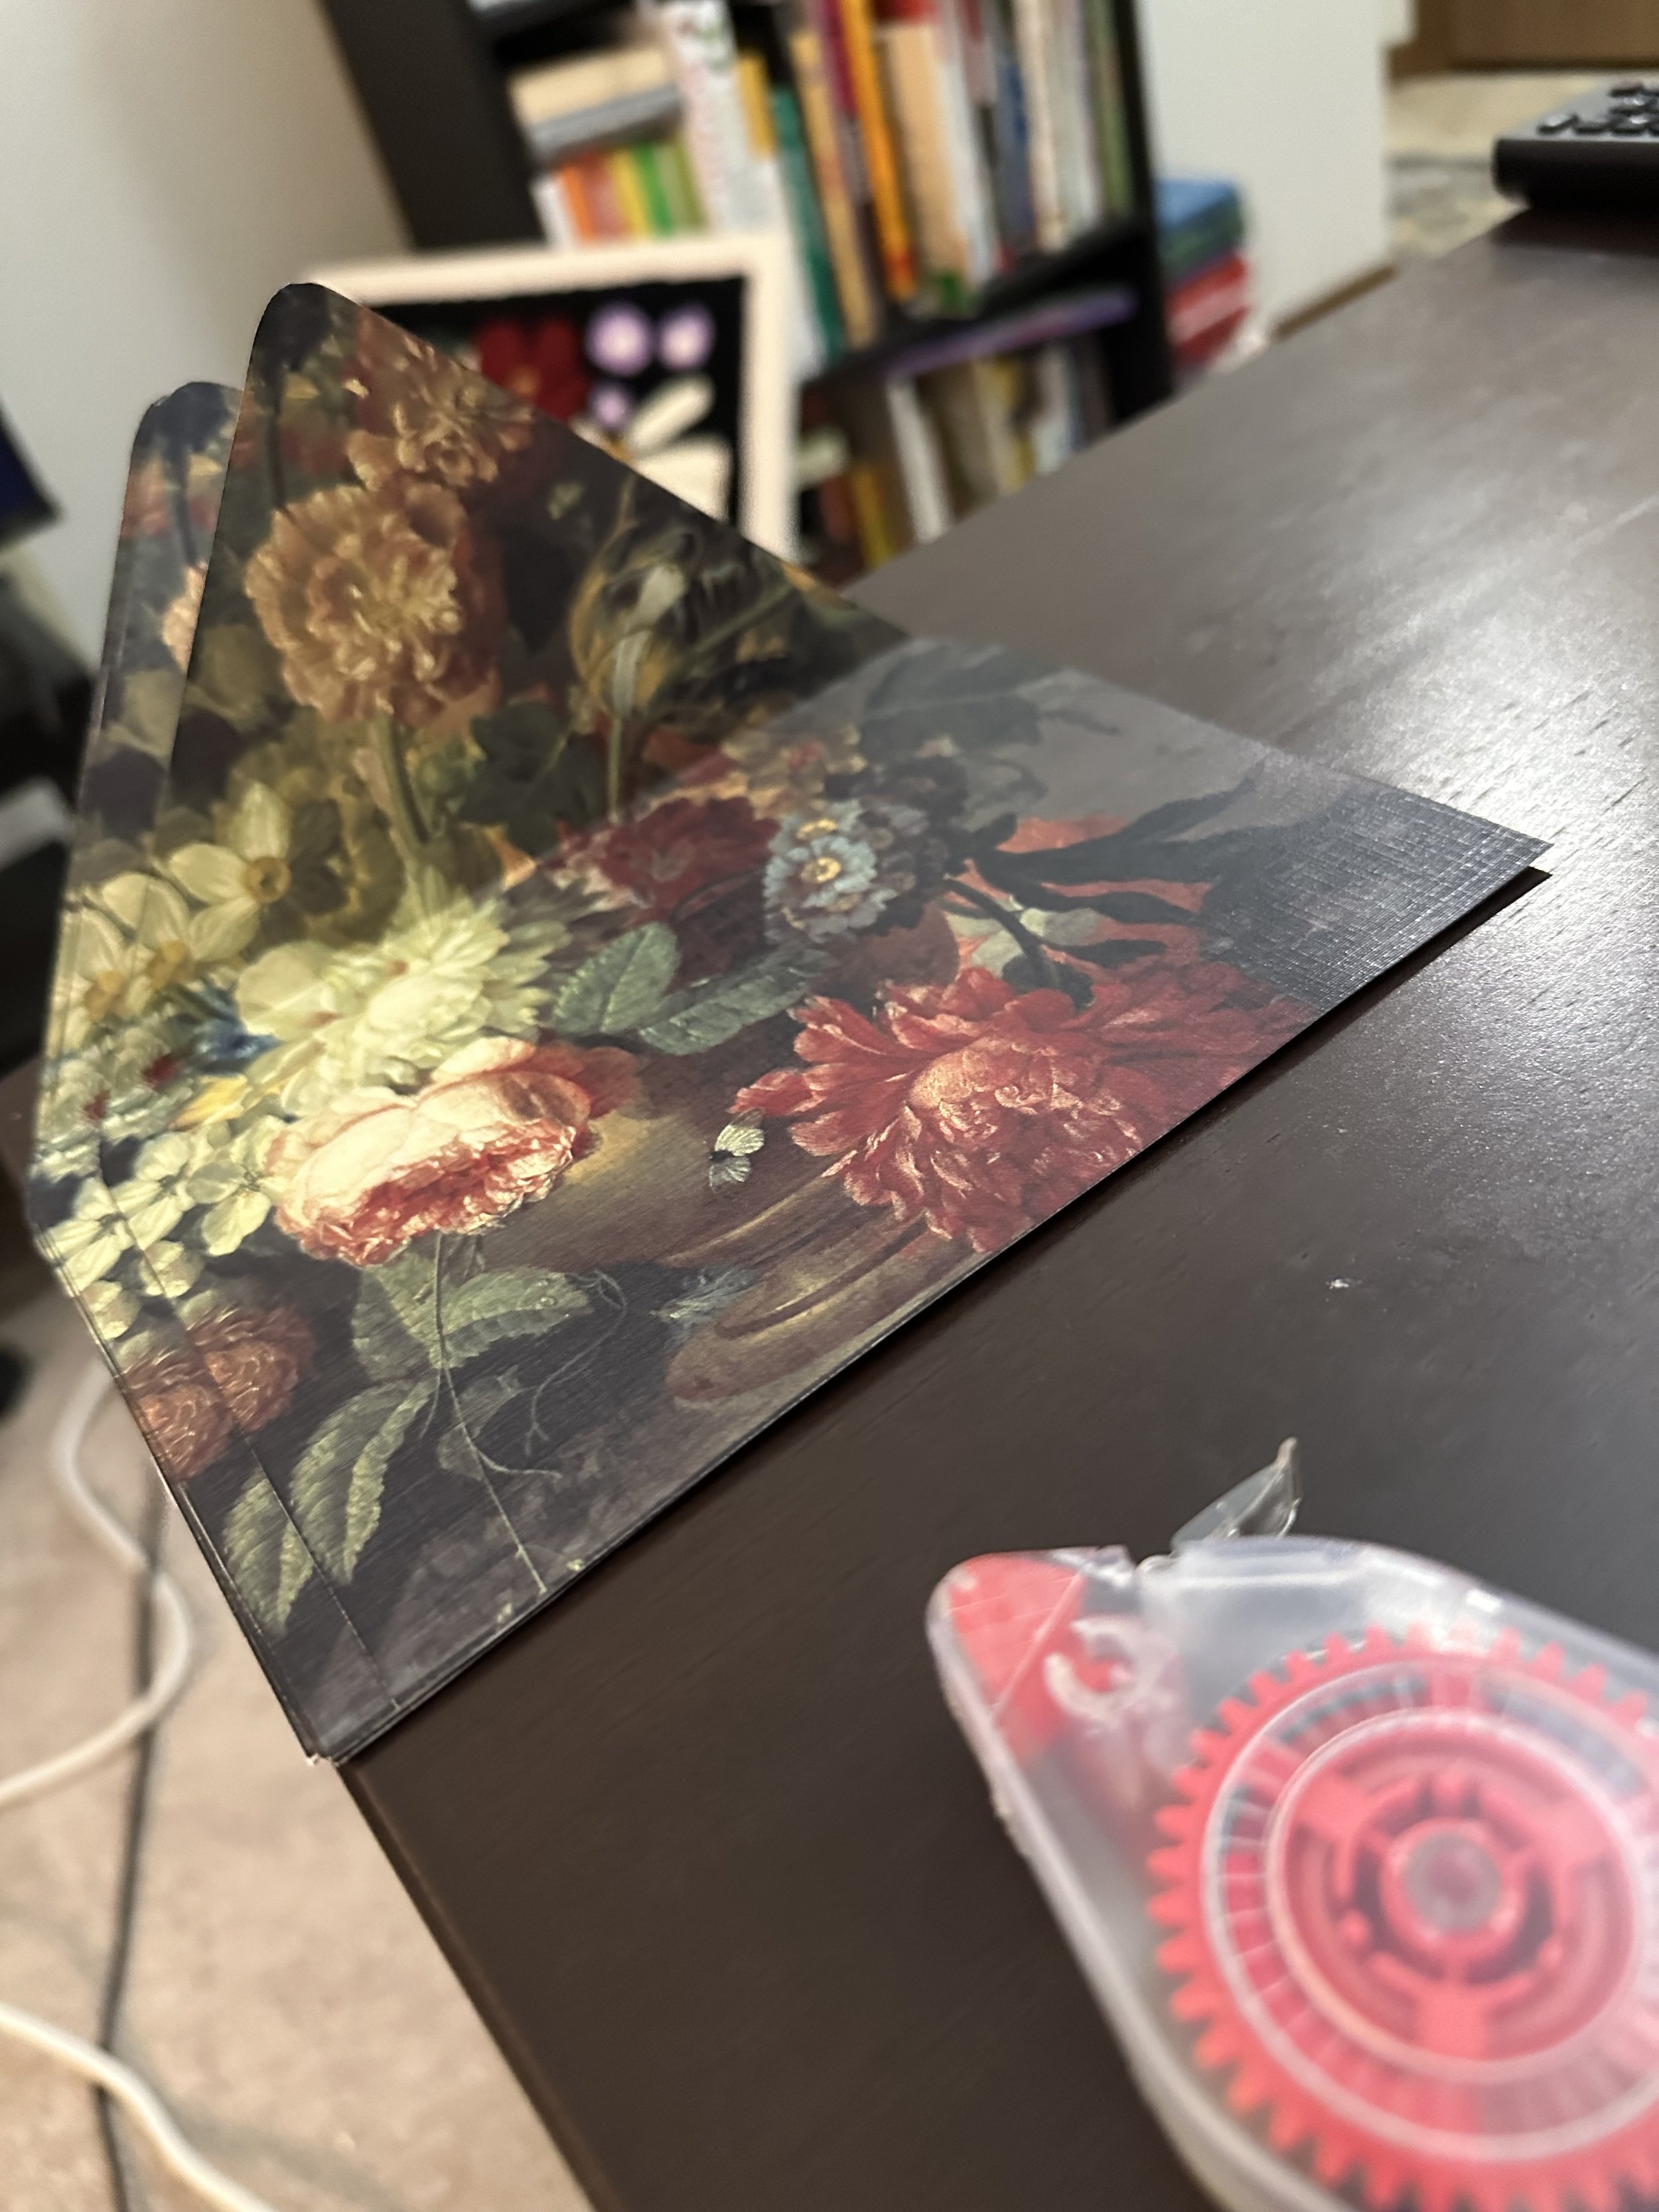
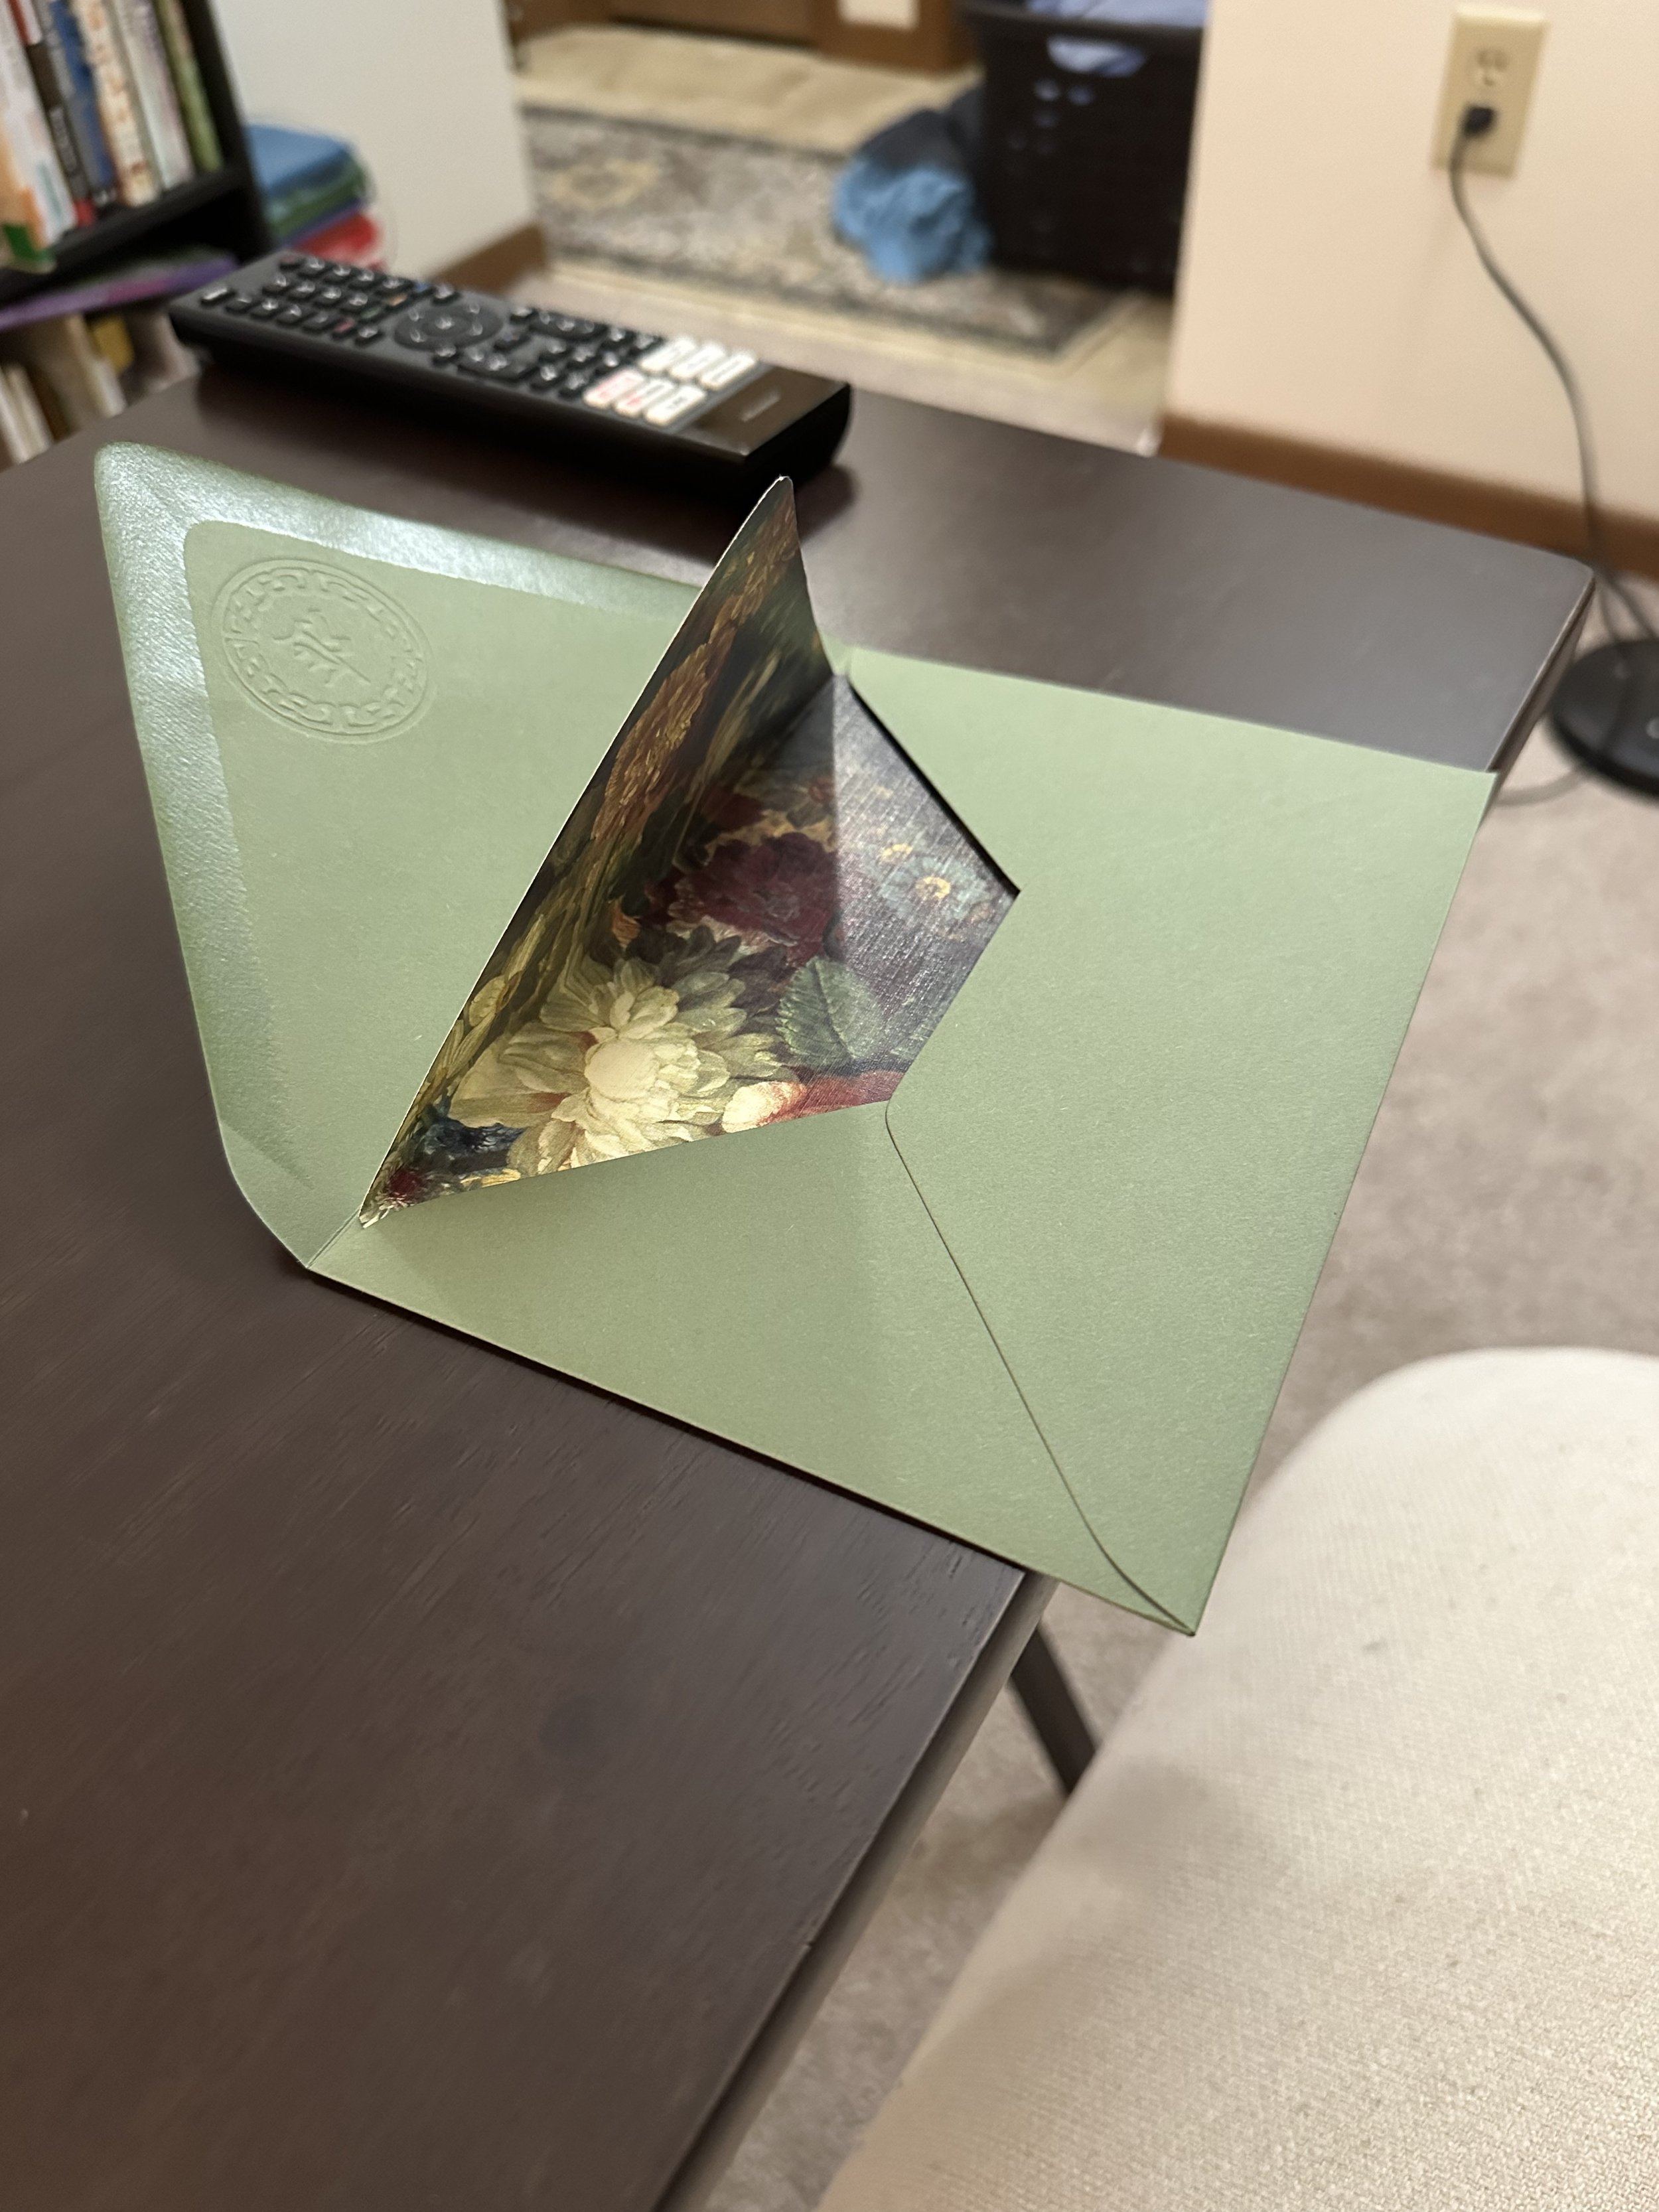
I wanted to be just a touch extra, and add an embossed seal on the envelope, as well as a liner to make it feel extra luxurious and beautiful.
To go with the green ink, I chose green envelopes, and as for the image? A textured linen paper of an oil painting, in the similar feel and color palette for our wedding was a must!


French Beaded Flowers
A beautiful alternative to a traditional bouquet
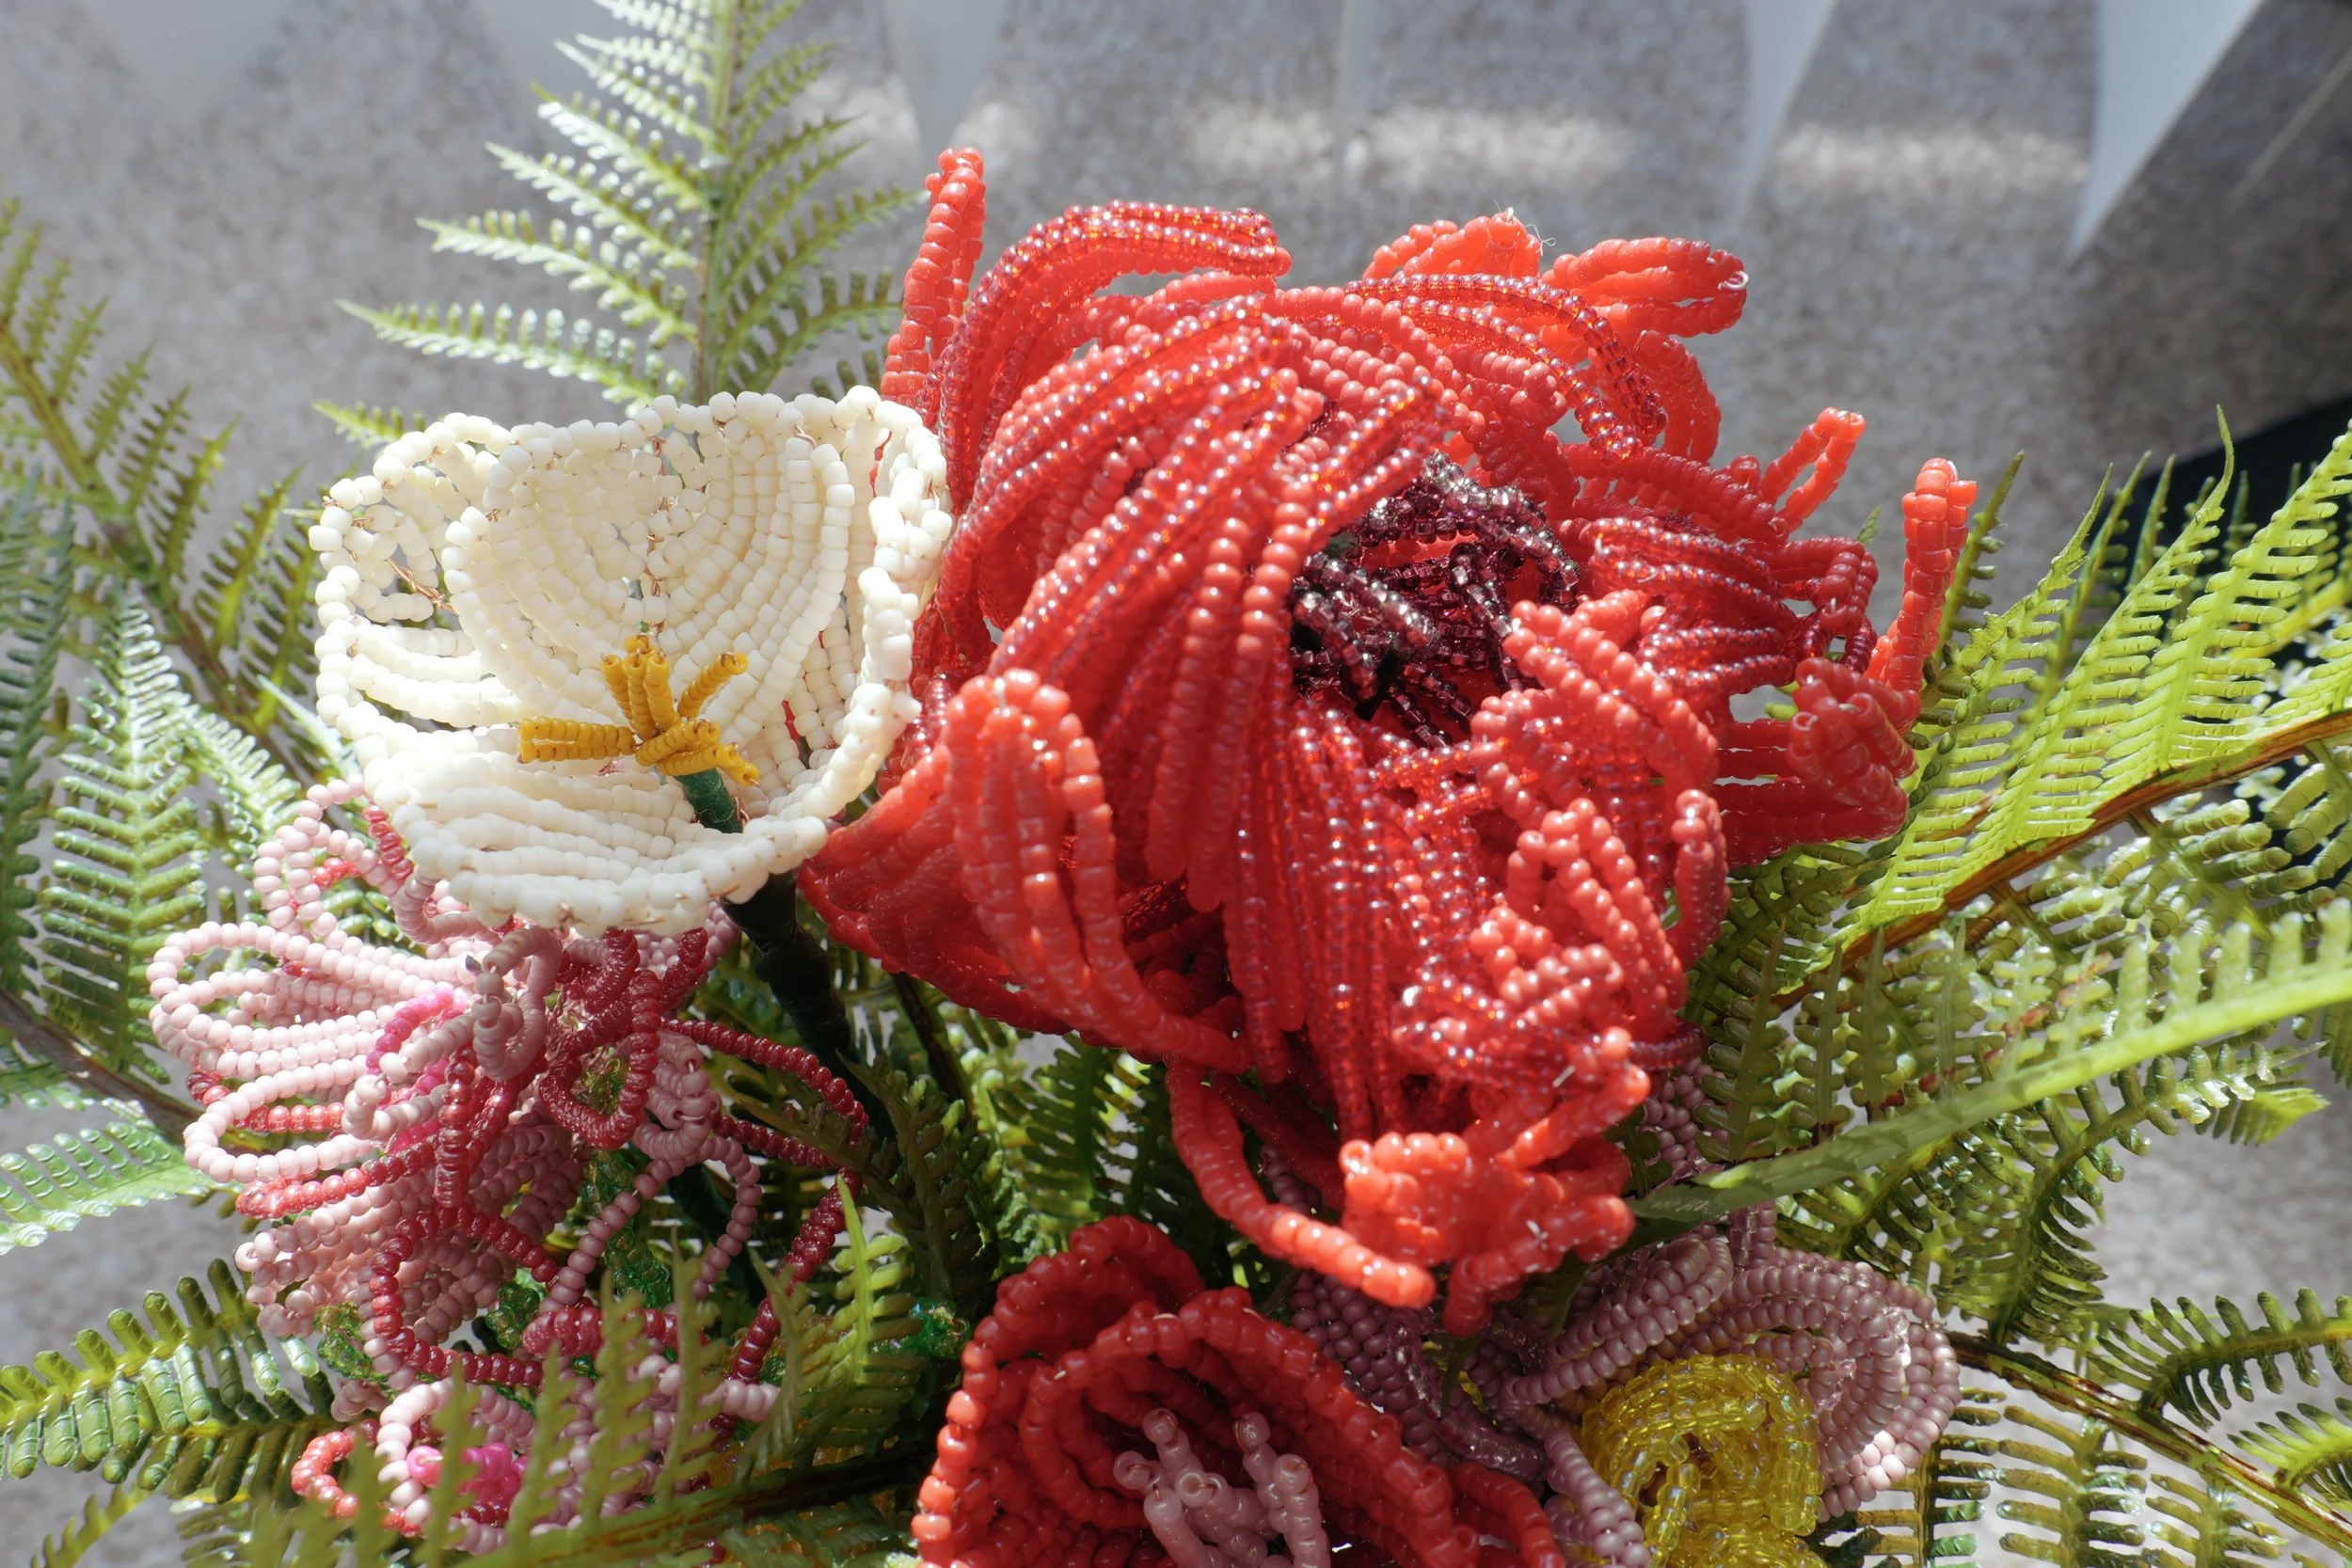
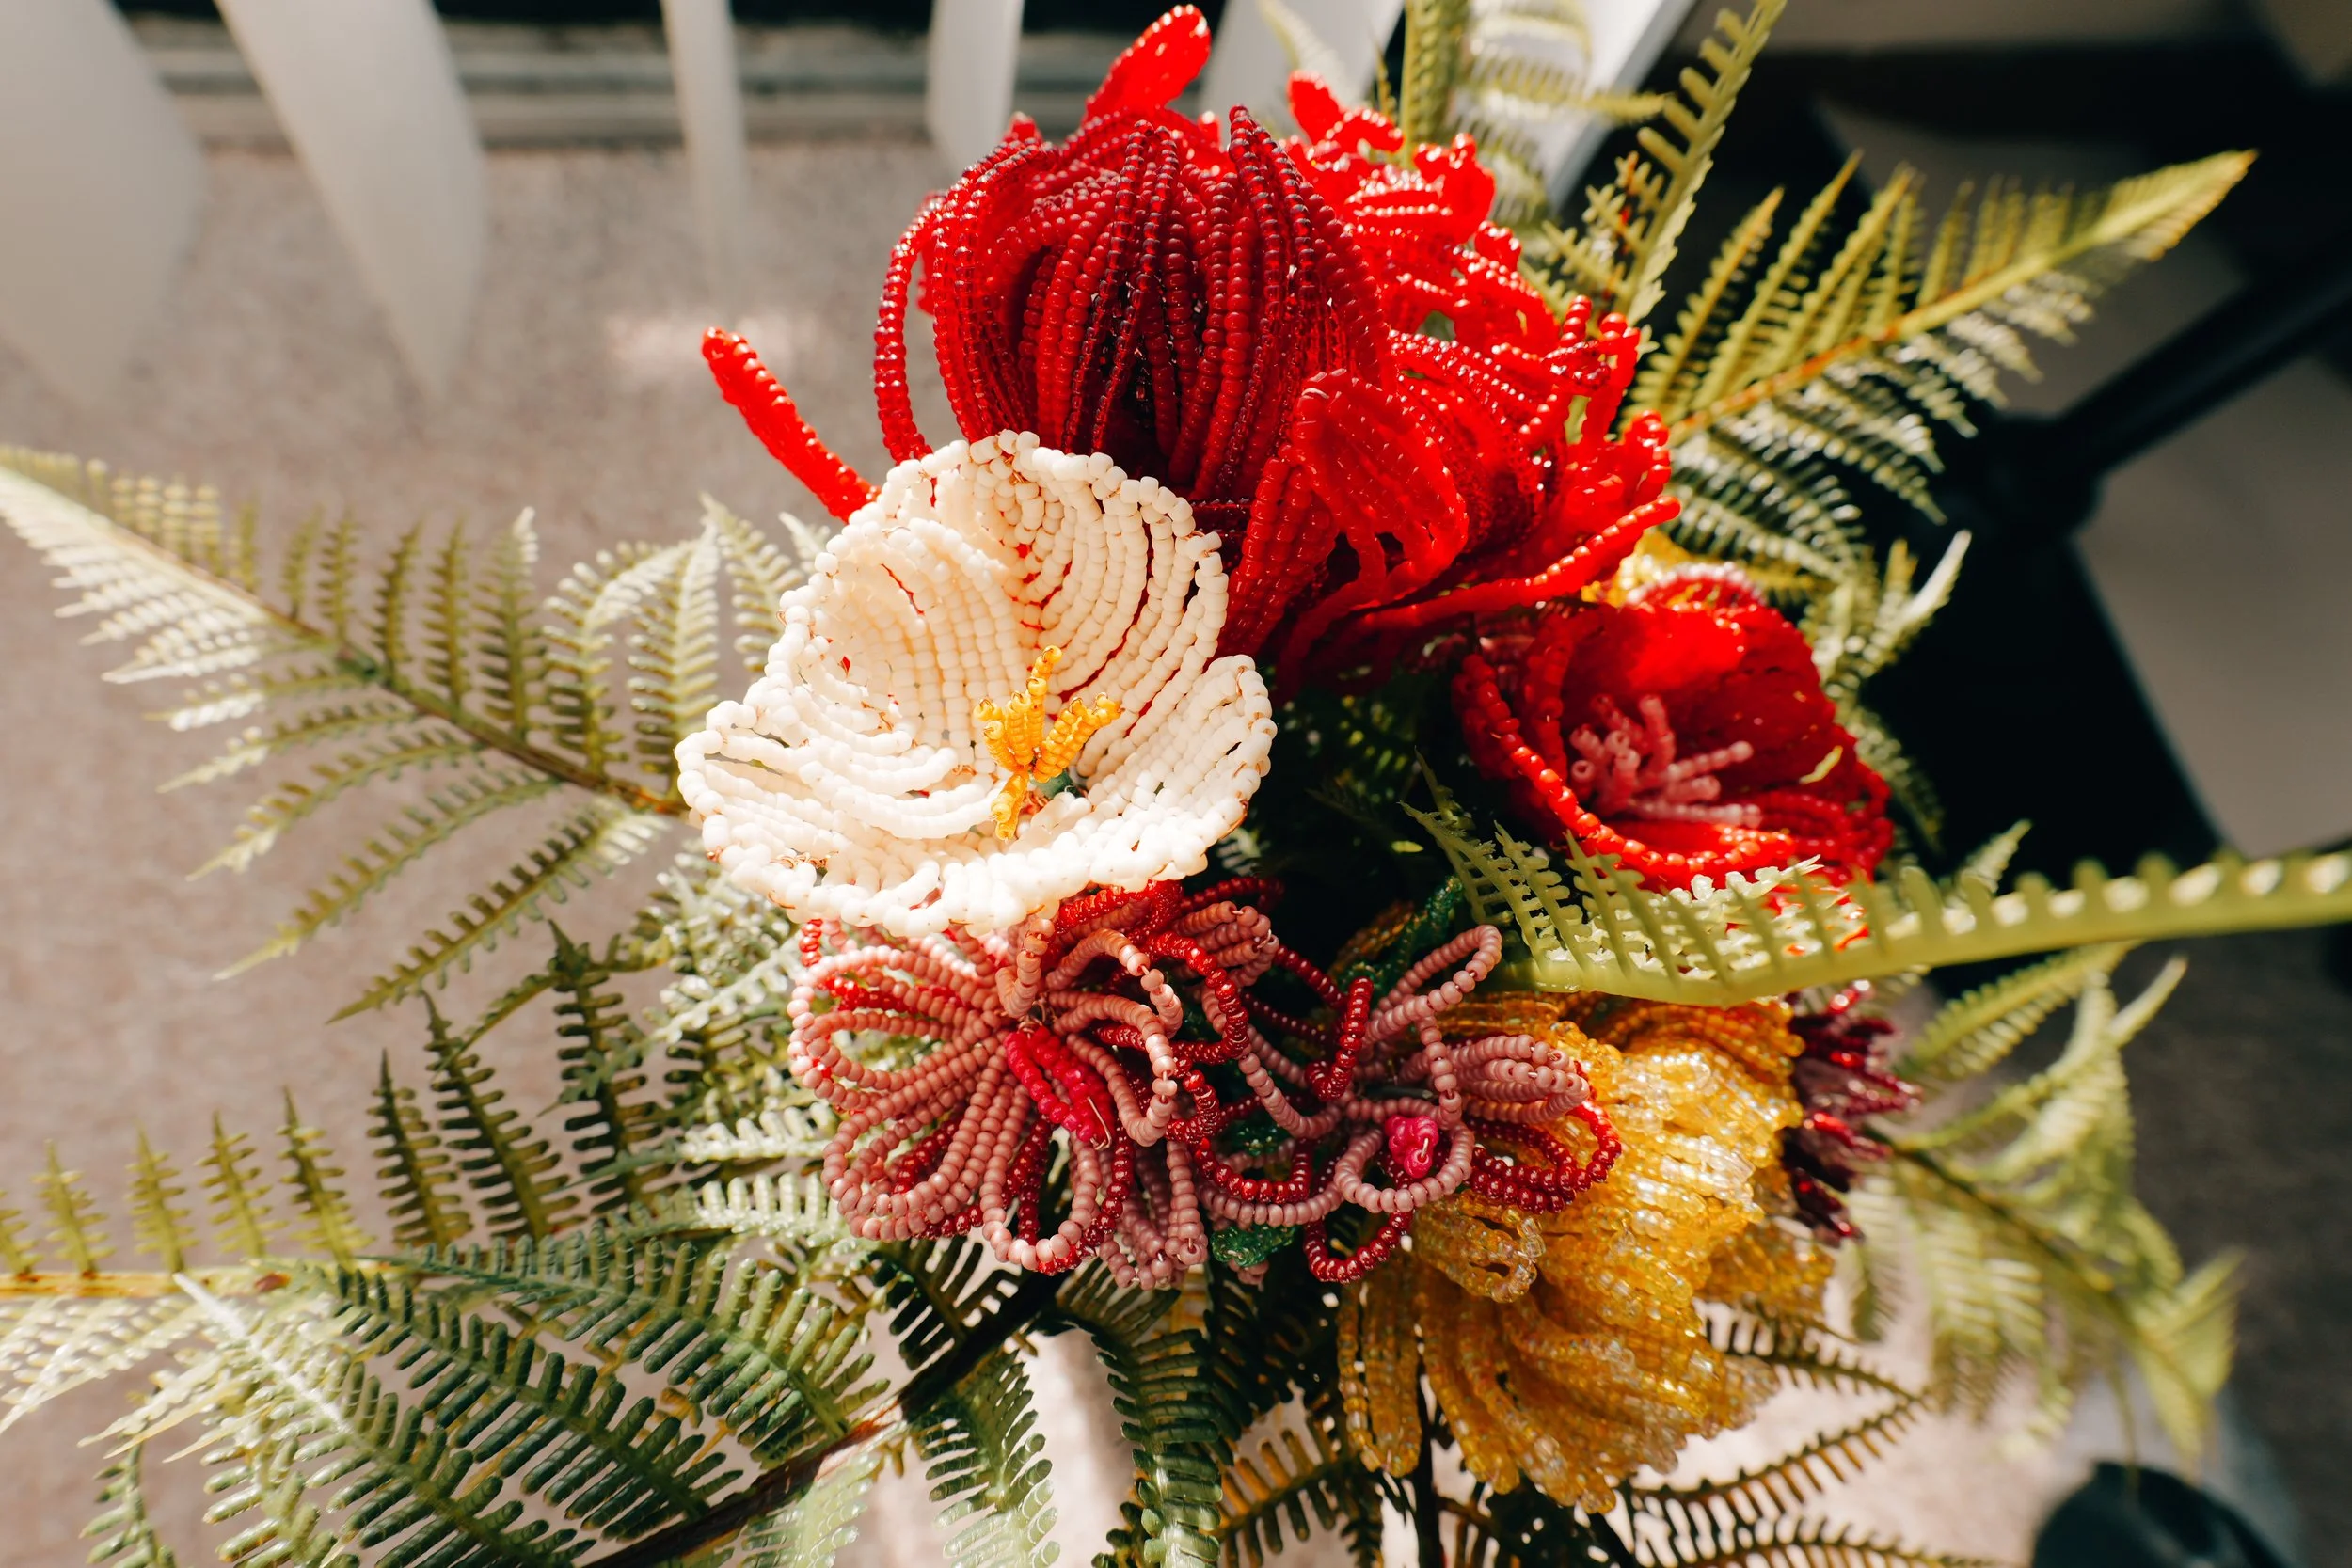
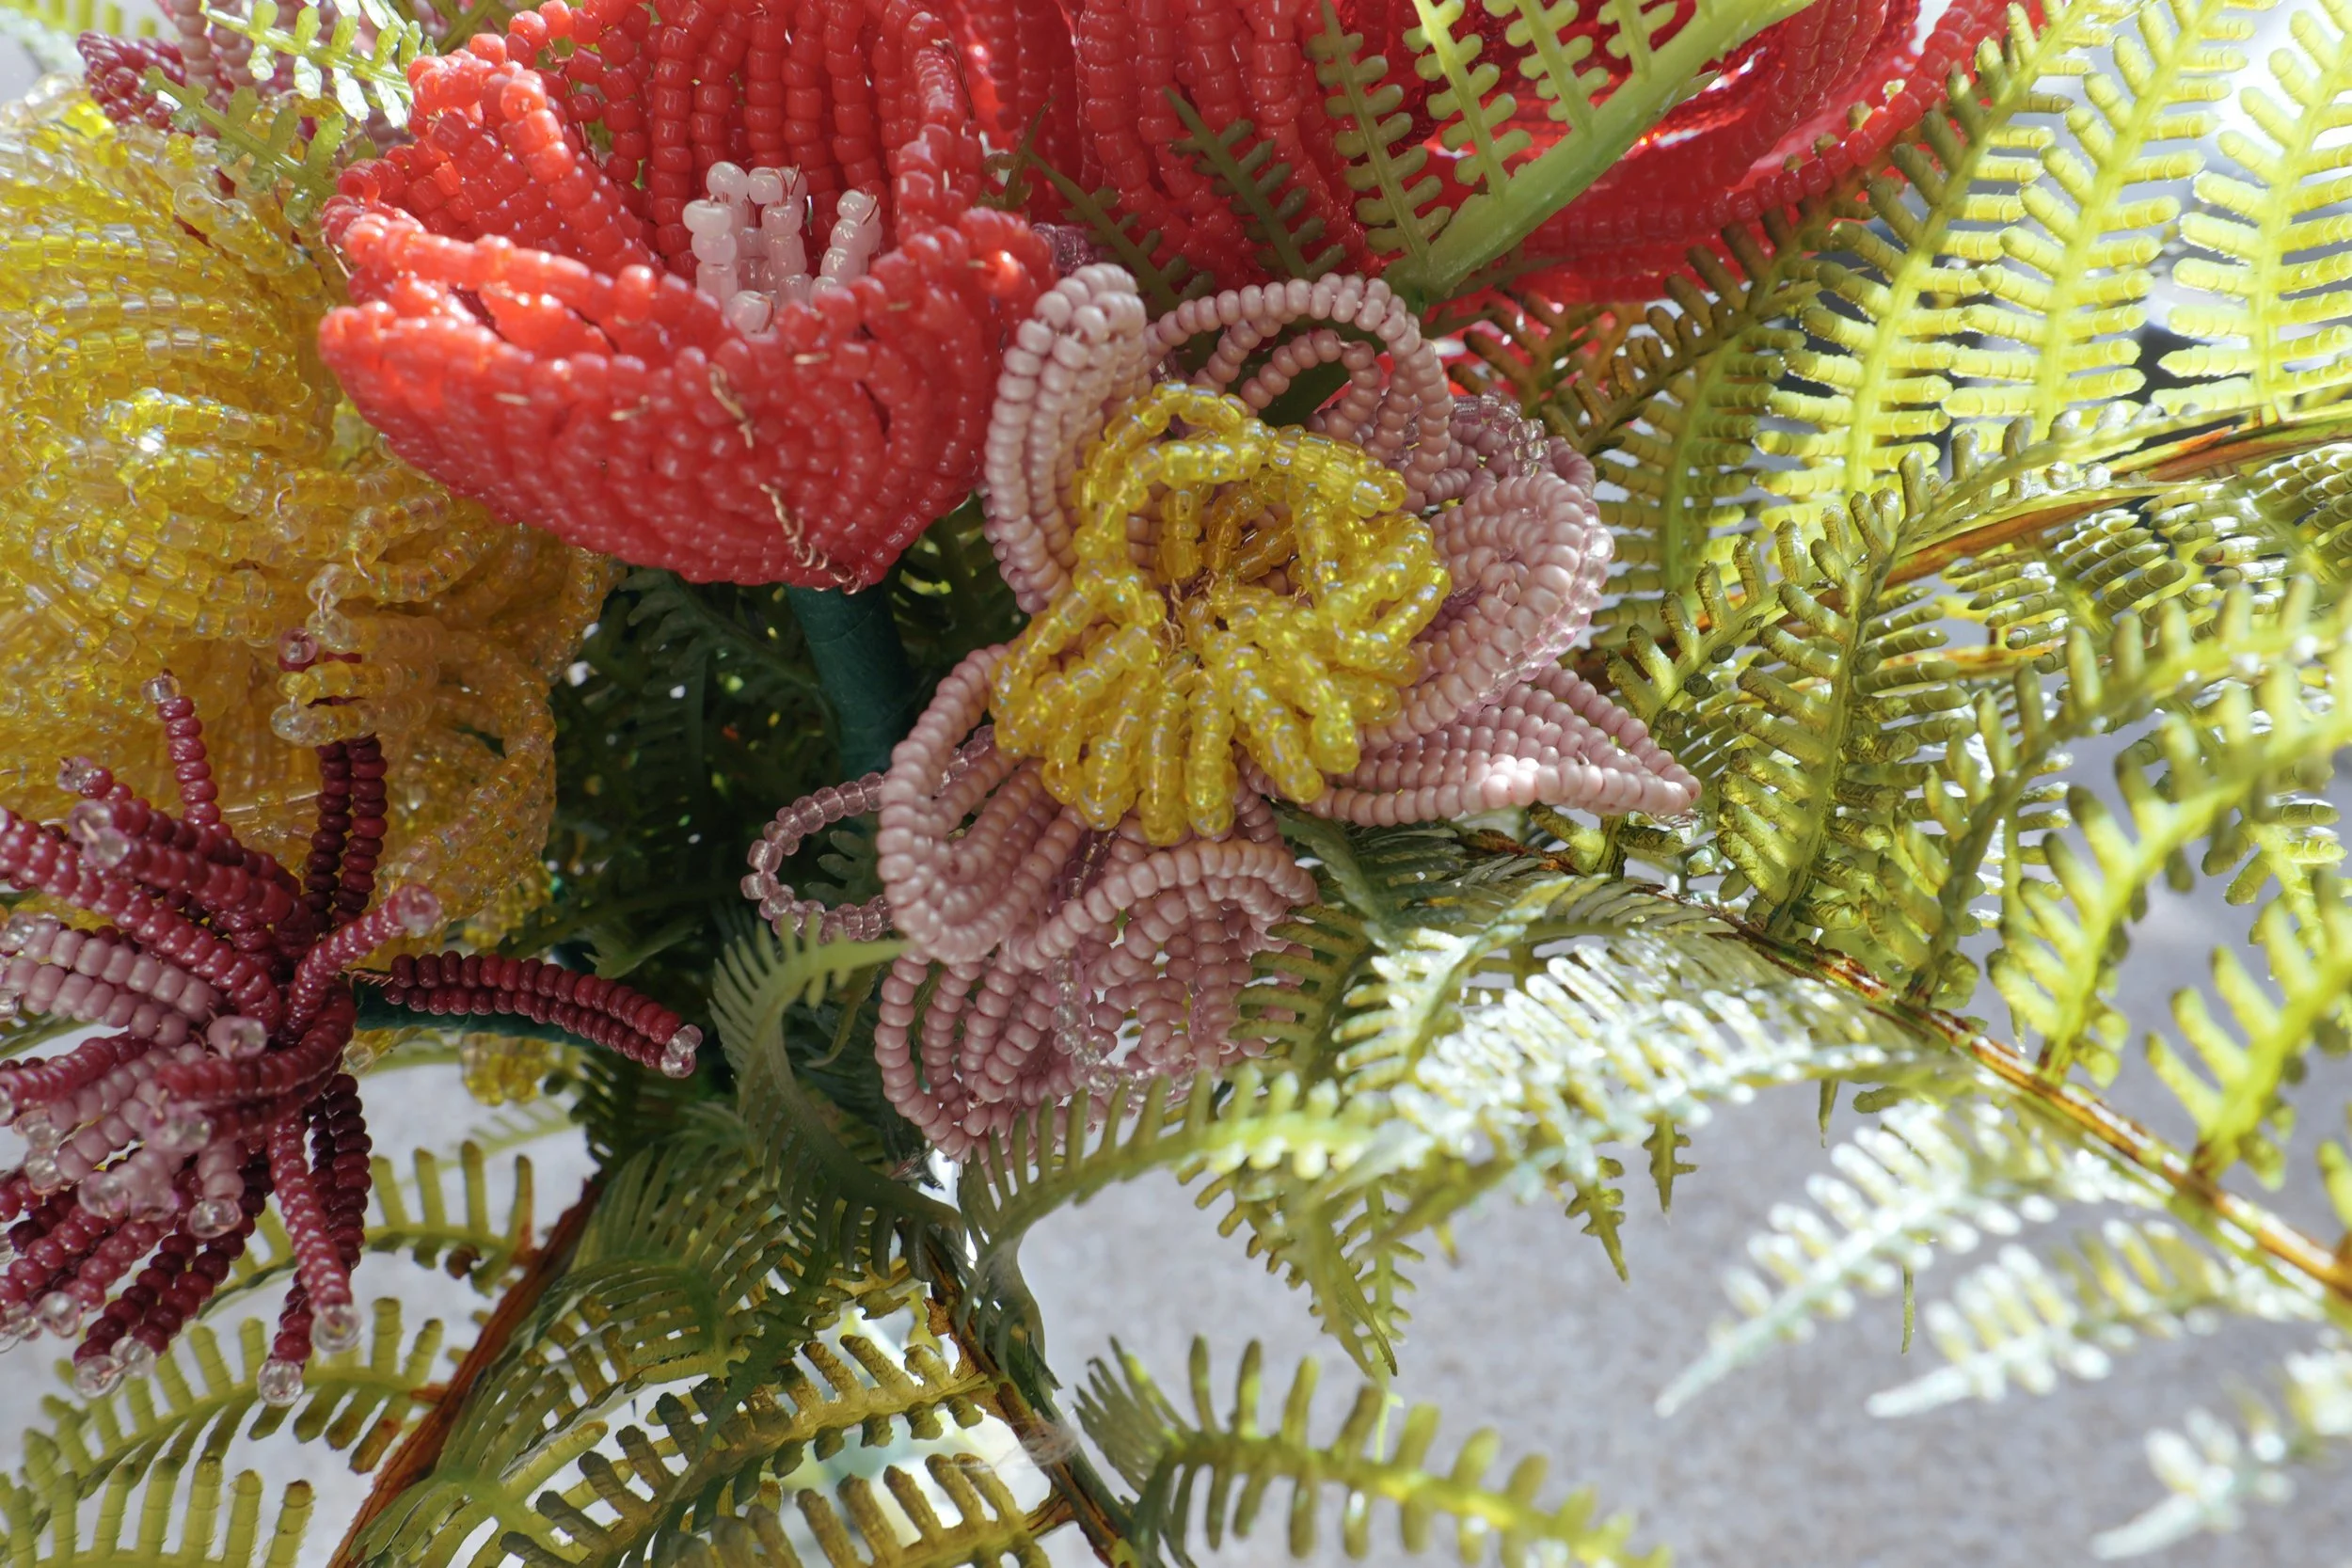
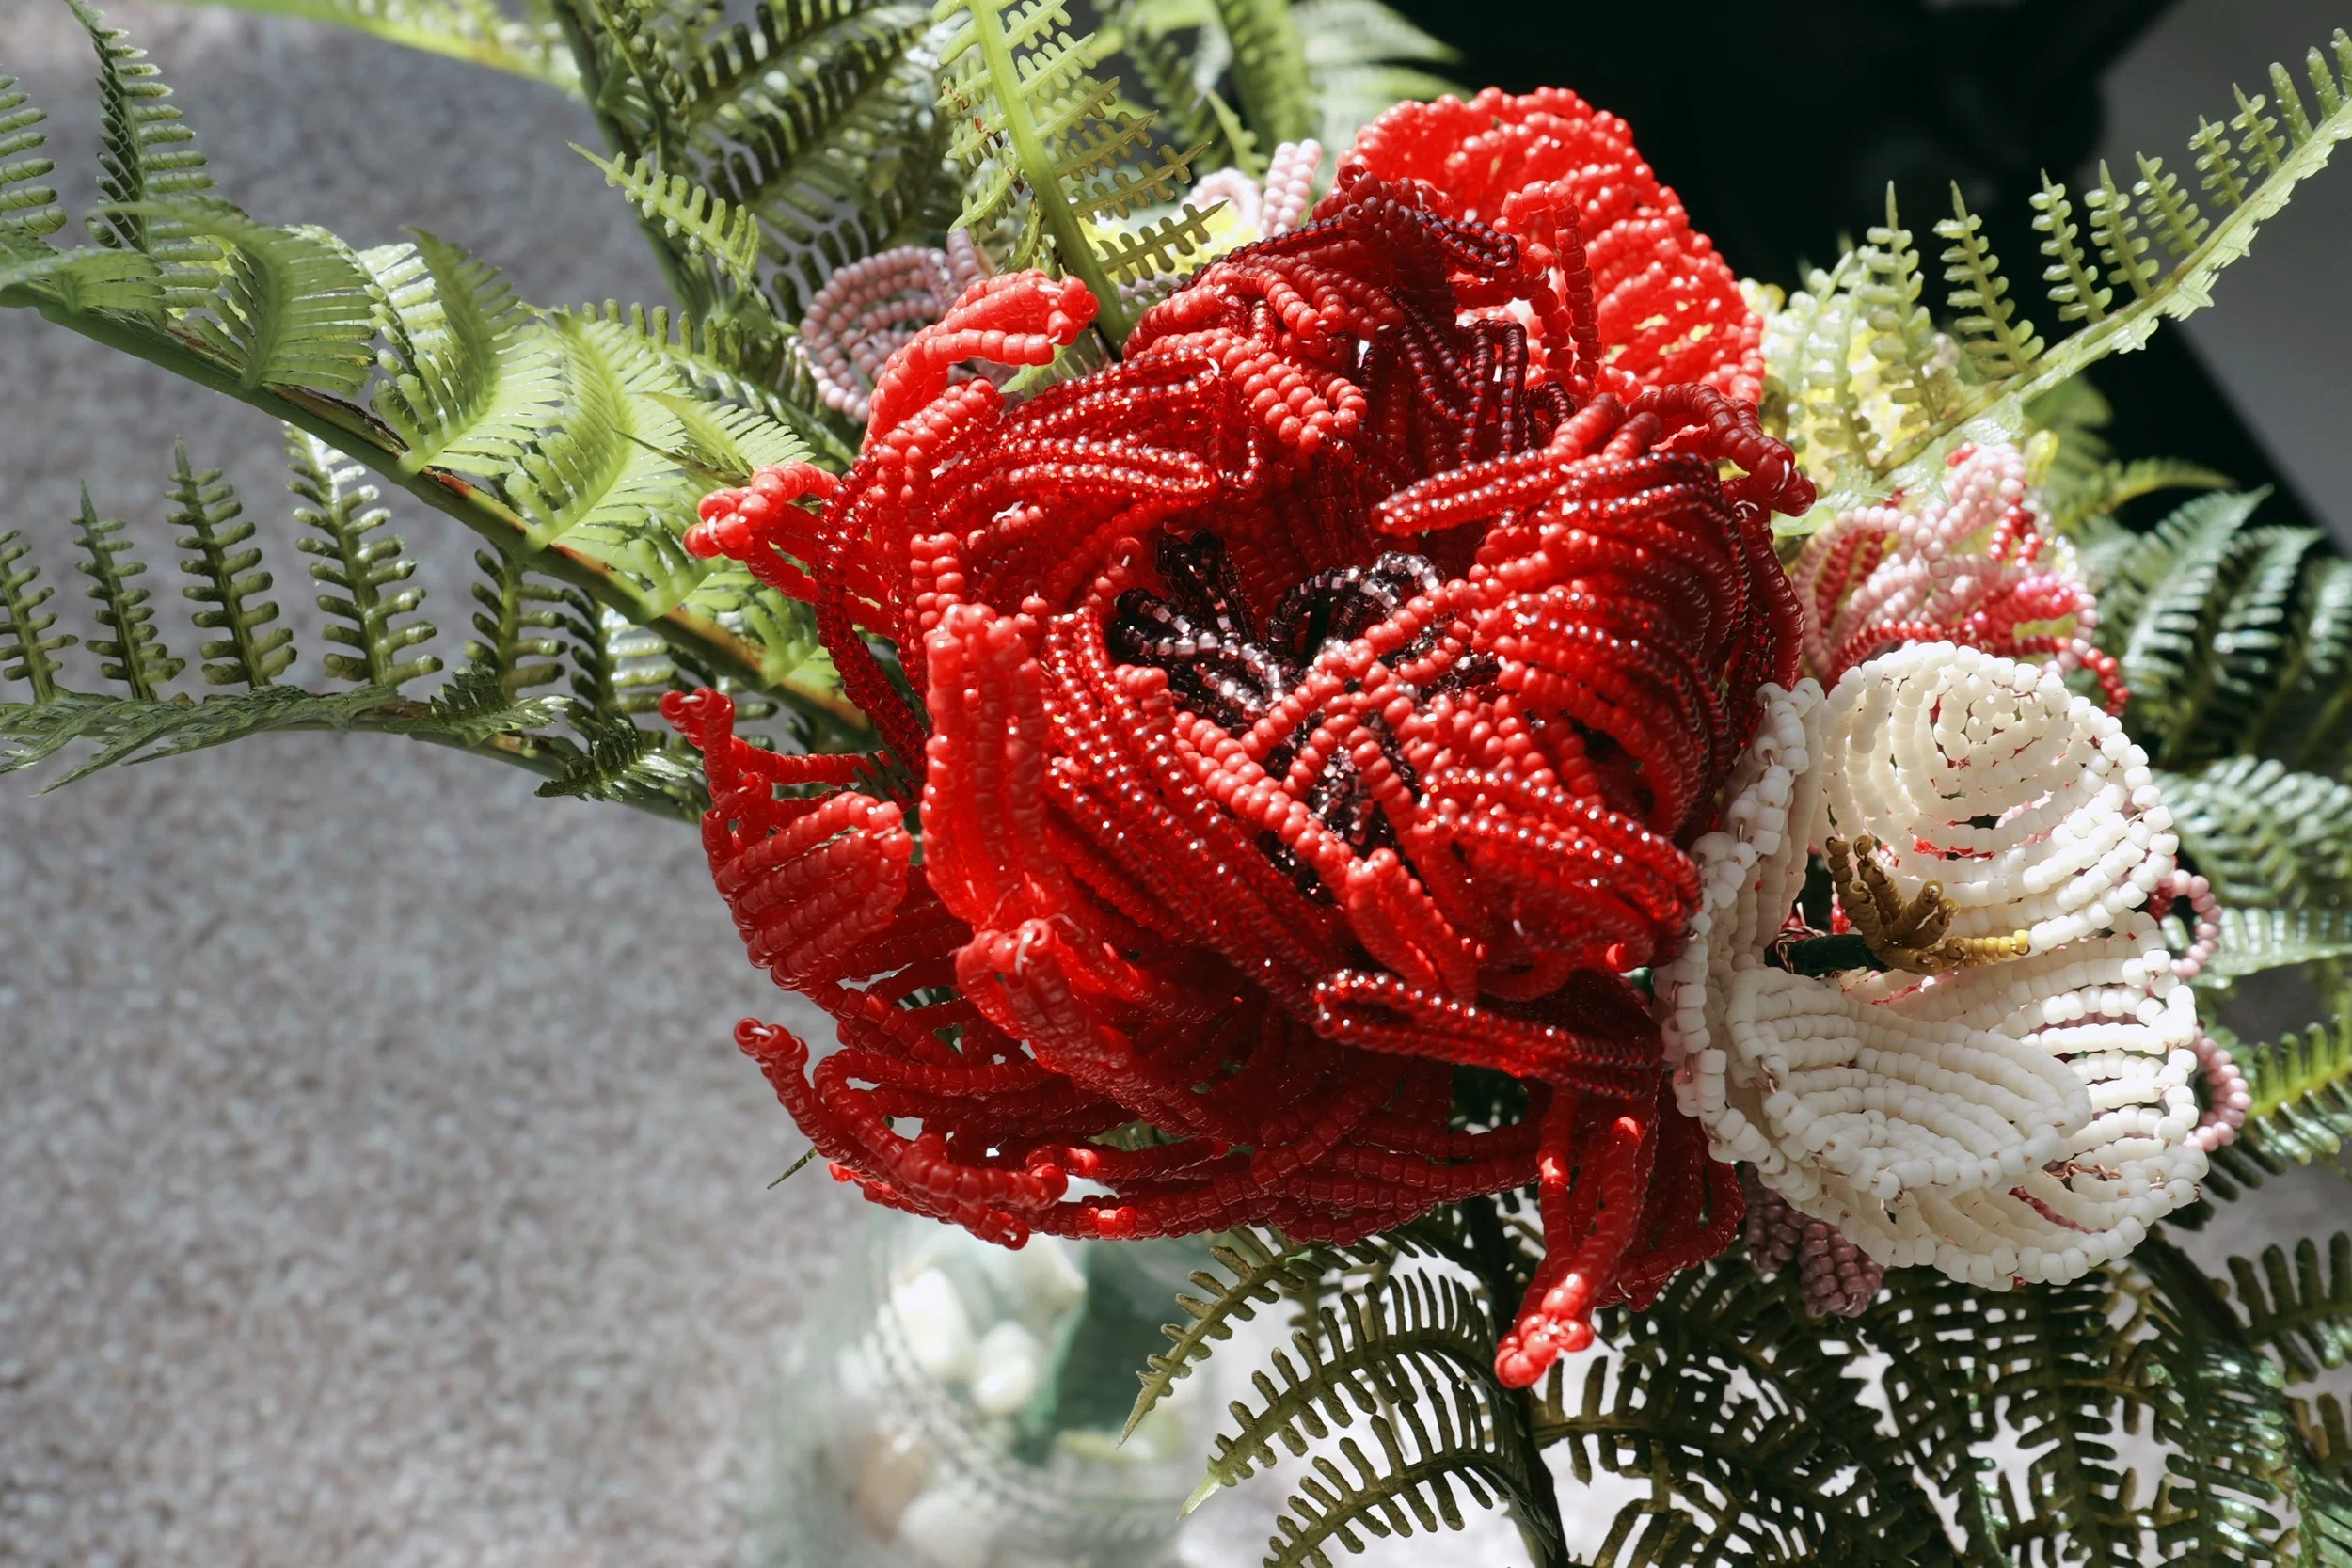
I wanted to search for an alternative to traditional wedding bouquets for a few reasons; they’re too expensive, they have a quick expiry time, not exactly great for the environment, and you have to invest more to preserve them afterwards. I wanted something that would last forever outright. Then came French beaded flowers.
What are French beaded flowers?
French beaded flowers are small glass beads strung on to a fine wire and then fashioned in to various blooms. Because they are so pliable it is possible to create pretty much anything within your imagination with the use of a small number of tools and a great deal of patience. According to references of beaded decorations, it is thought that the technique began as early as the 1300s in Germany when steel needles and wire were developed, and around the 1500s in Europe, predominantly, Italy and France.
I happened to come across them through Pinterest research, and from then on I started to learn various techniques to make them, in total it took me about a year to hone in the skills to make my final bouquet. I also in the end made my now husband’s and brother in law’s boutonnieres as well.




Jewelry for the Bride
As someone who makes jewelry I had no idea what I was going to end up with for my wedding jewelry. I was mostly going off of the fact that I wanted to incorporate pearls and our selected metal of copper (in this case also rose gold was close enough in color).
What I ended up using was just that, I had rose gold ‘huggie’ hoops with a hammered texture (to match our bands) that I added a pearl and green glass bead to the end of. Additionally I created a matching necklace with the same findings to have a cohesive set that matched my crown.
To keep in theme, I wanted to also create a bracelet (seen at the top of the third photo) as part of my jewelry and an added touch (it also helps that it covered my watch line).


The Dress
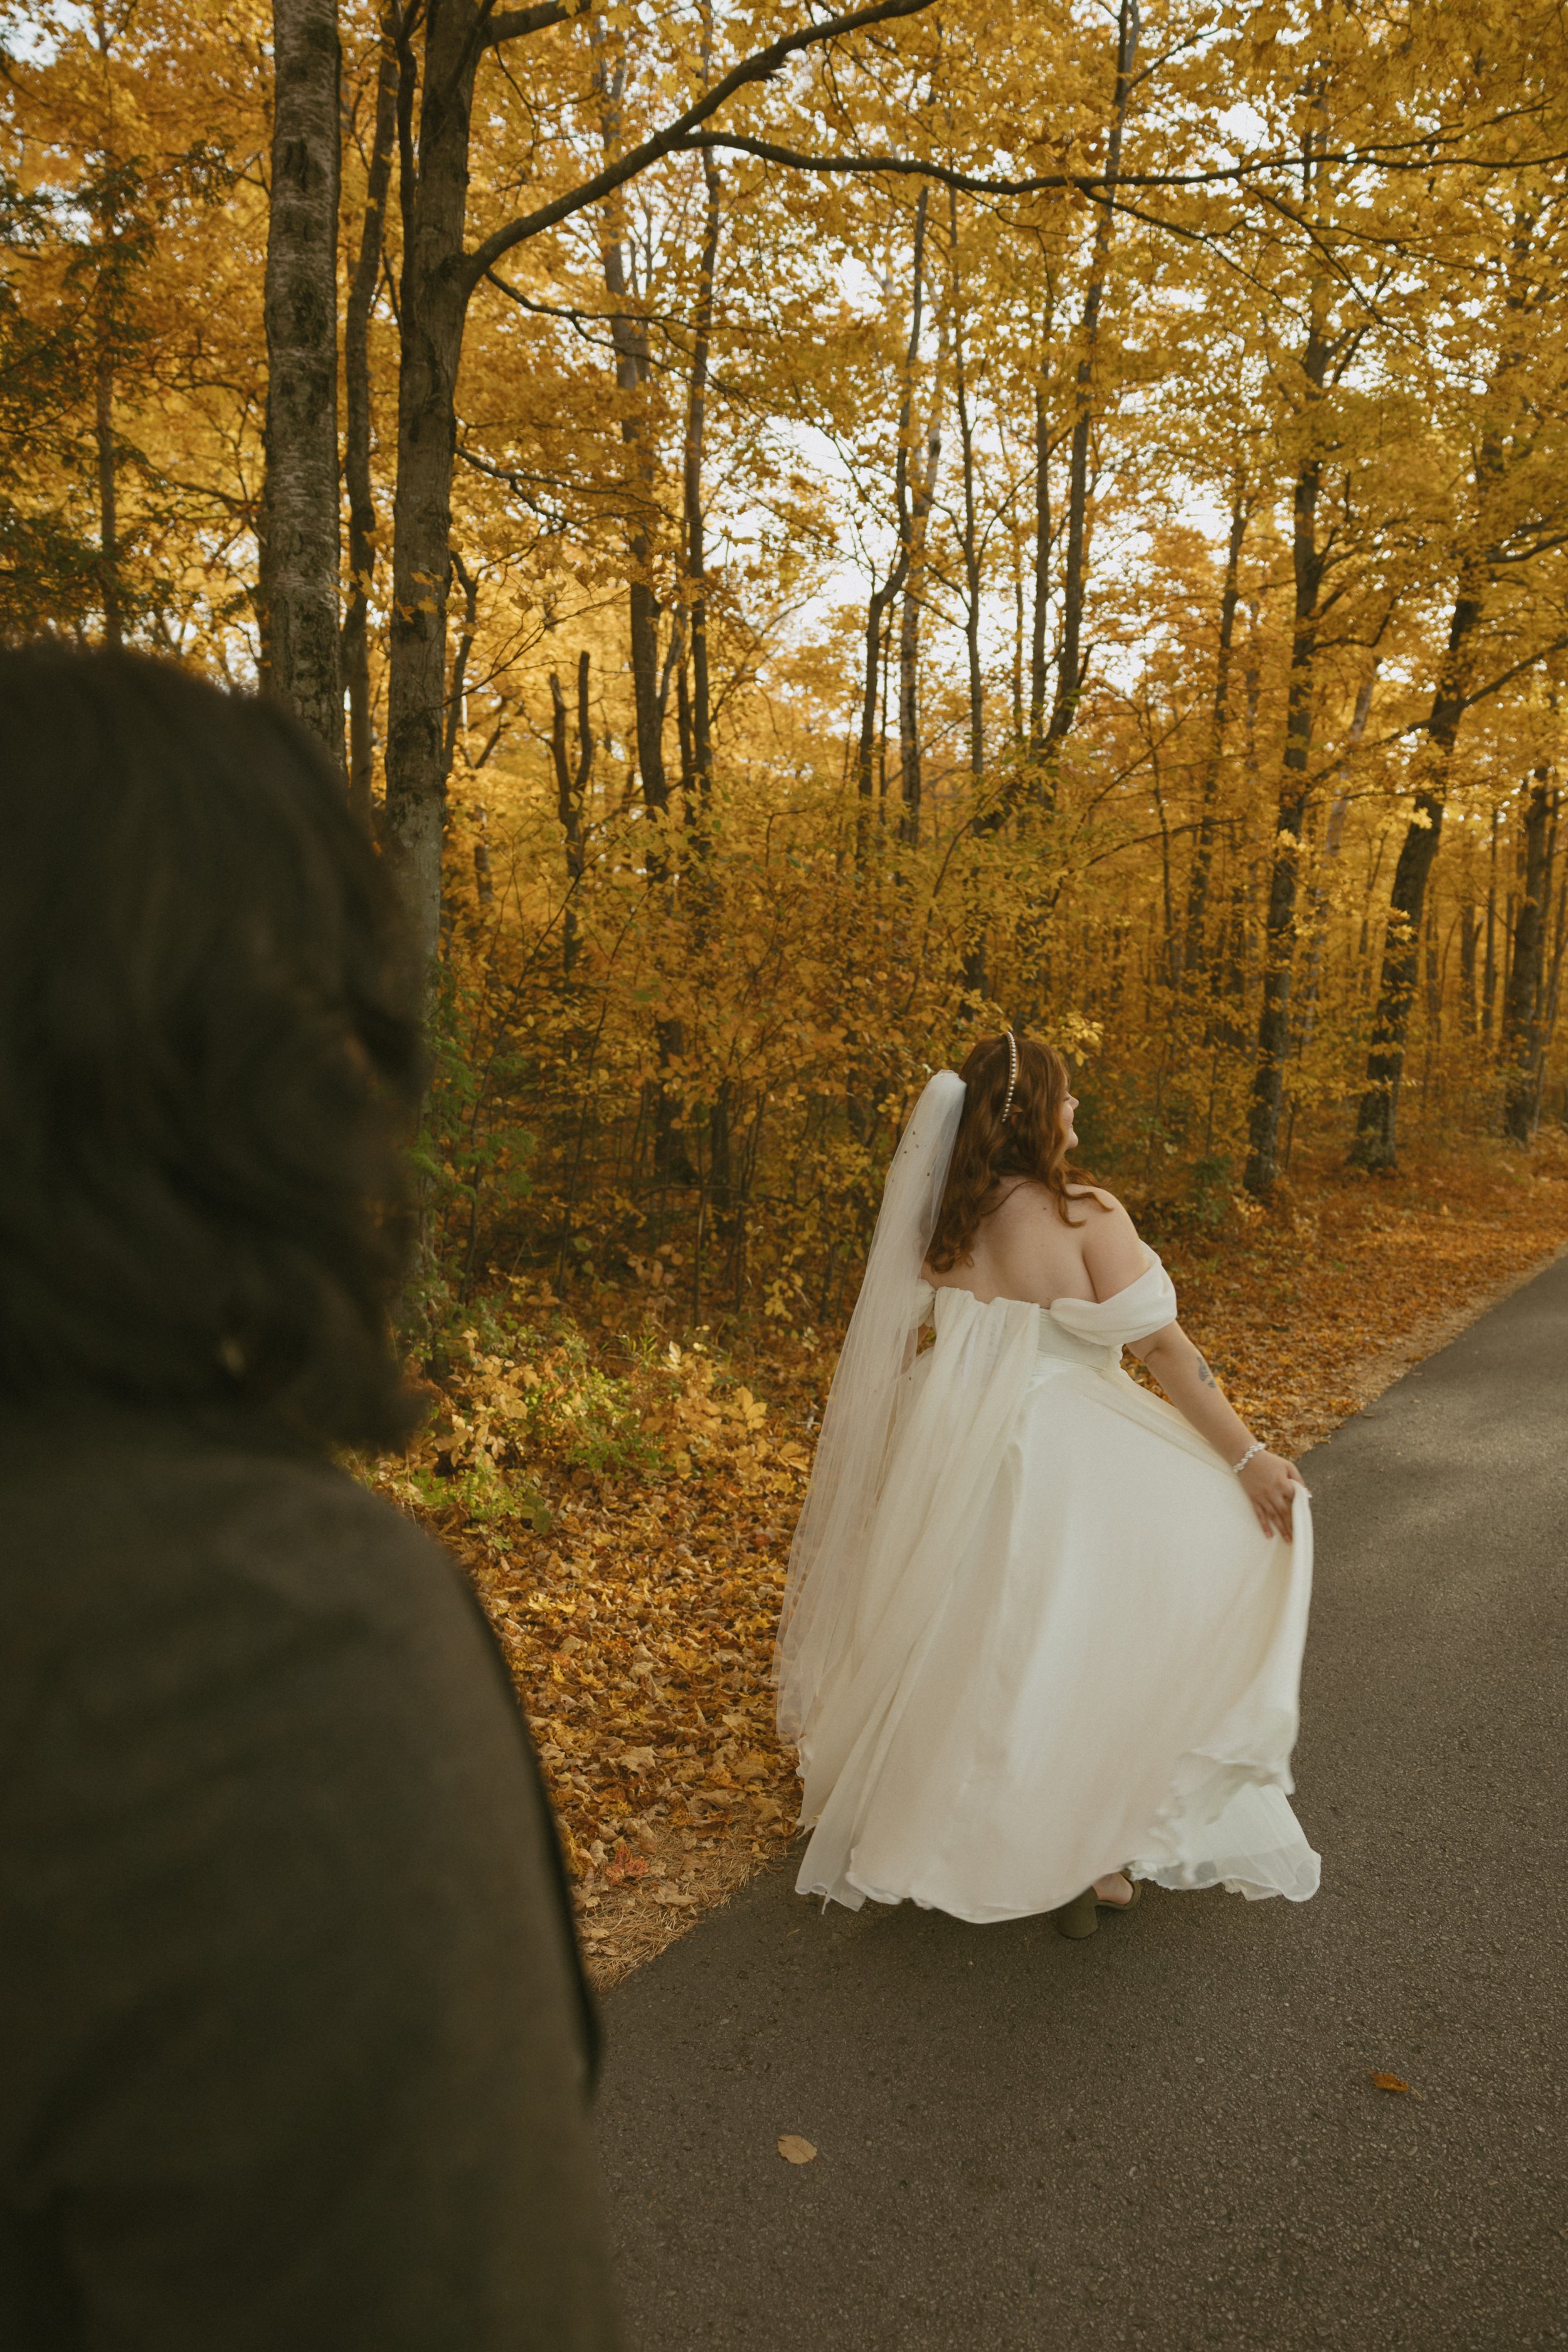
Over 10 months in the making, my wedding dress was one of the most rewarding parts (albeit frustrating at times) of designing our dream wedding. I always thought that it’d be something special that I could look back on and be proud of myself that I had completed. Plus I got to forego spending thousands on a dress.
Inspiration
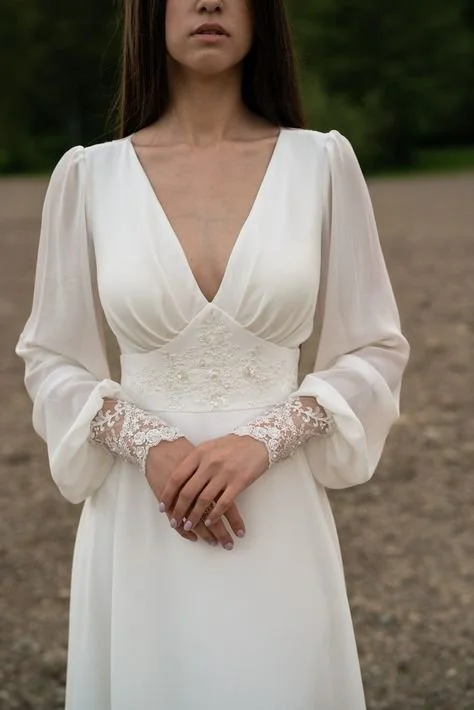
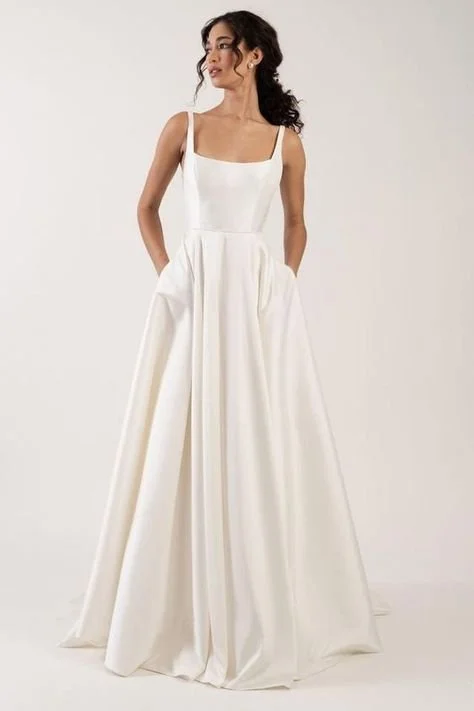
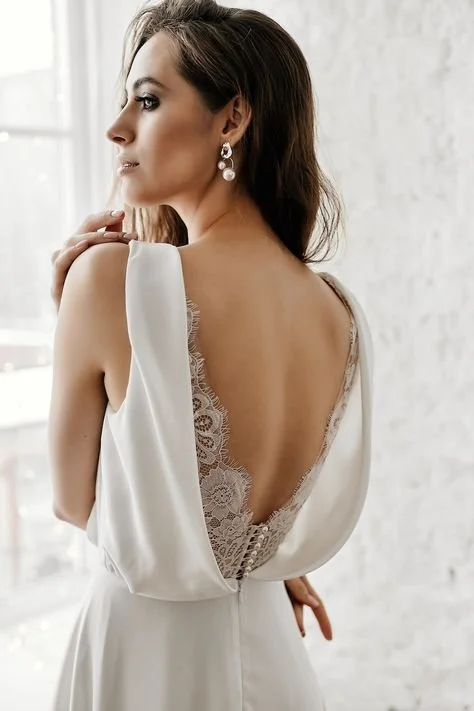
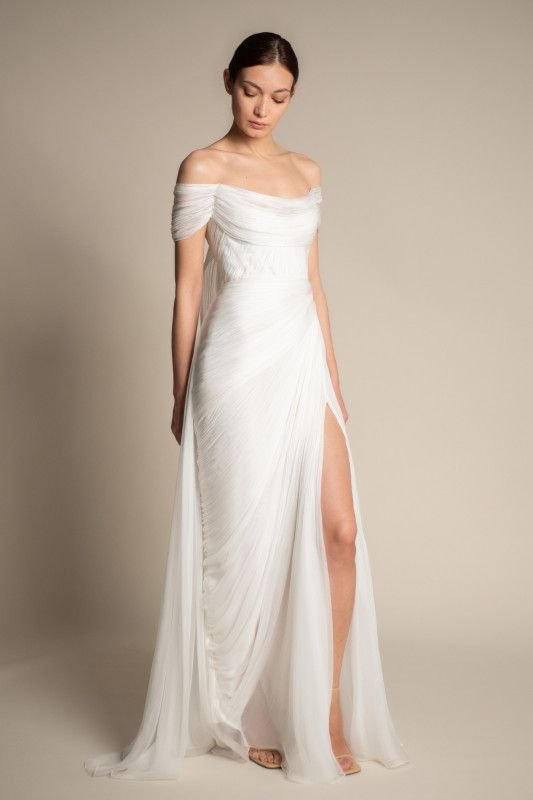
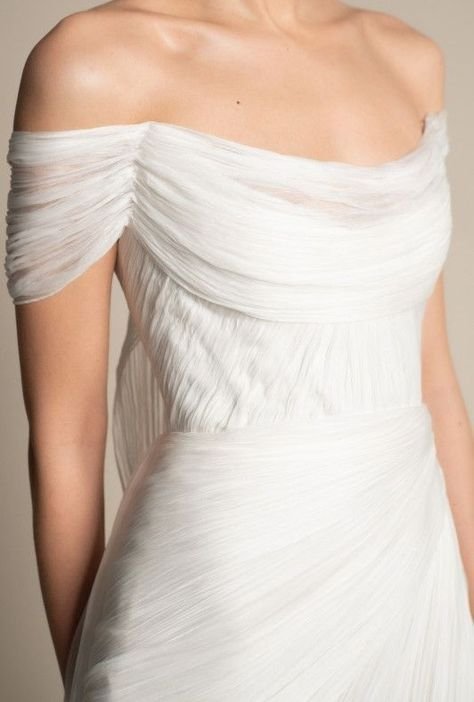
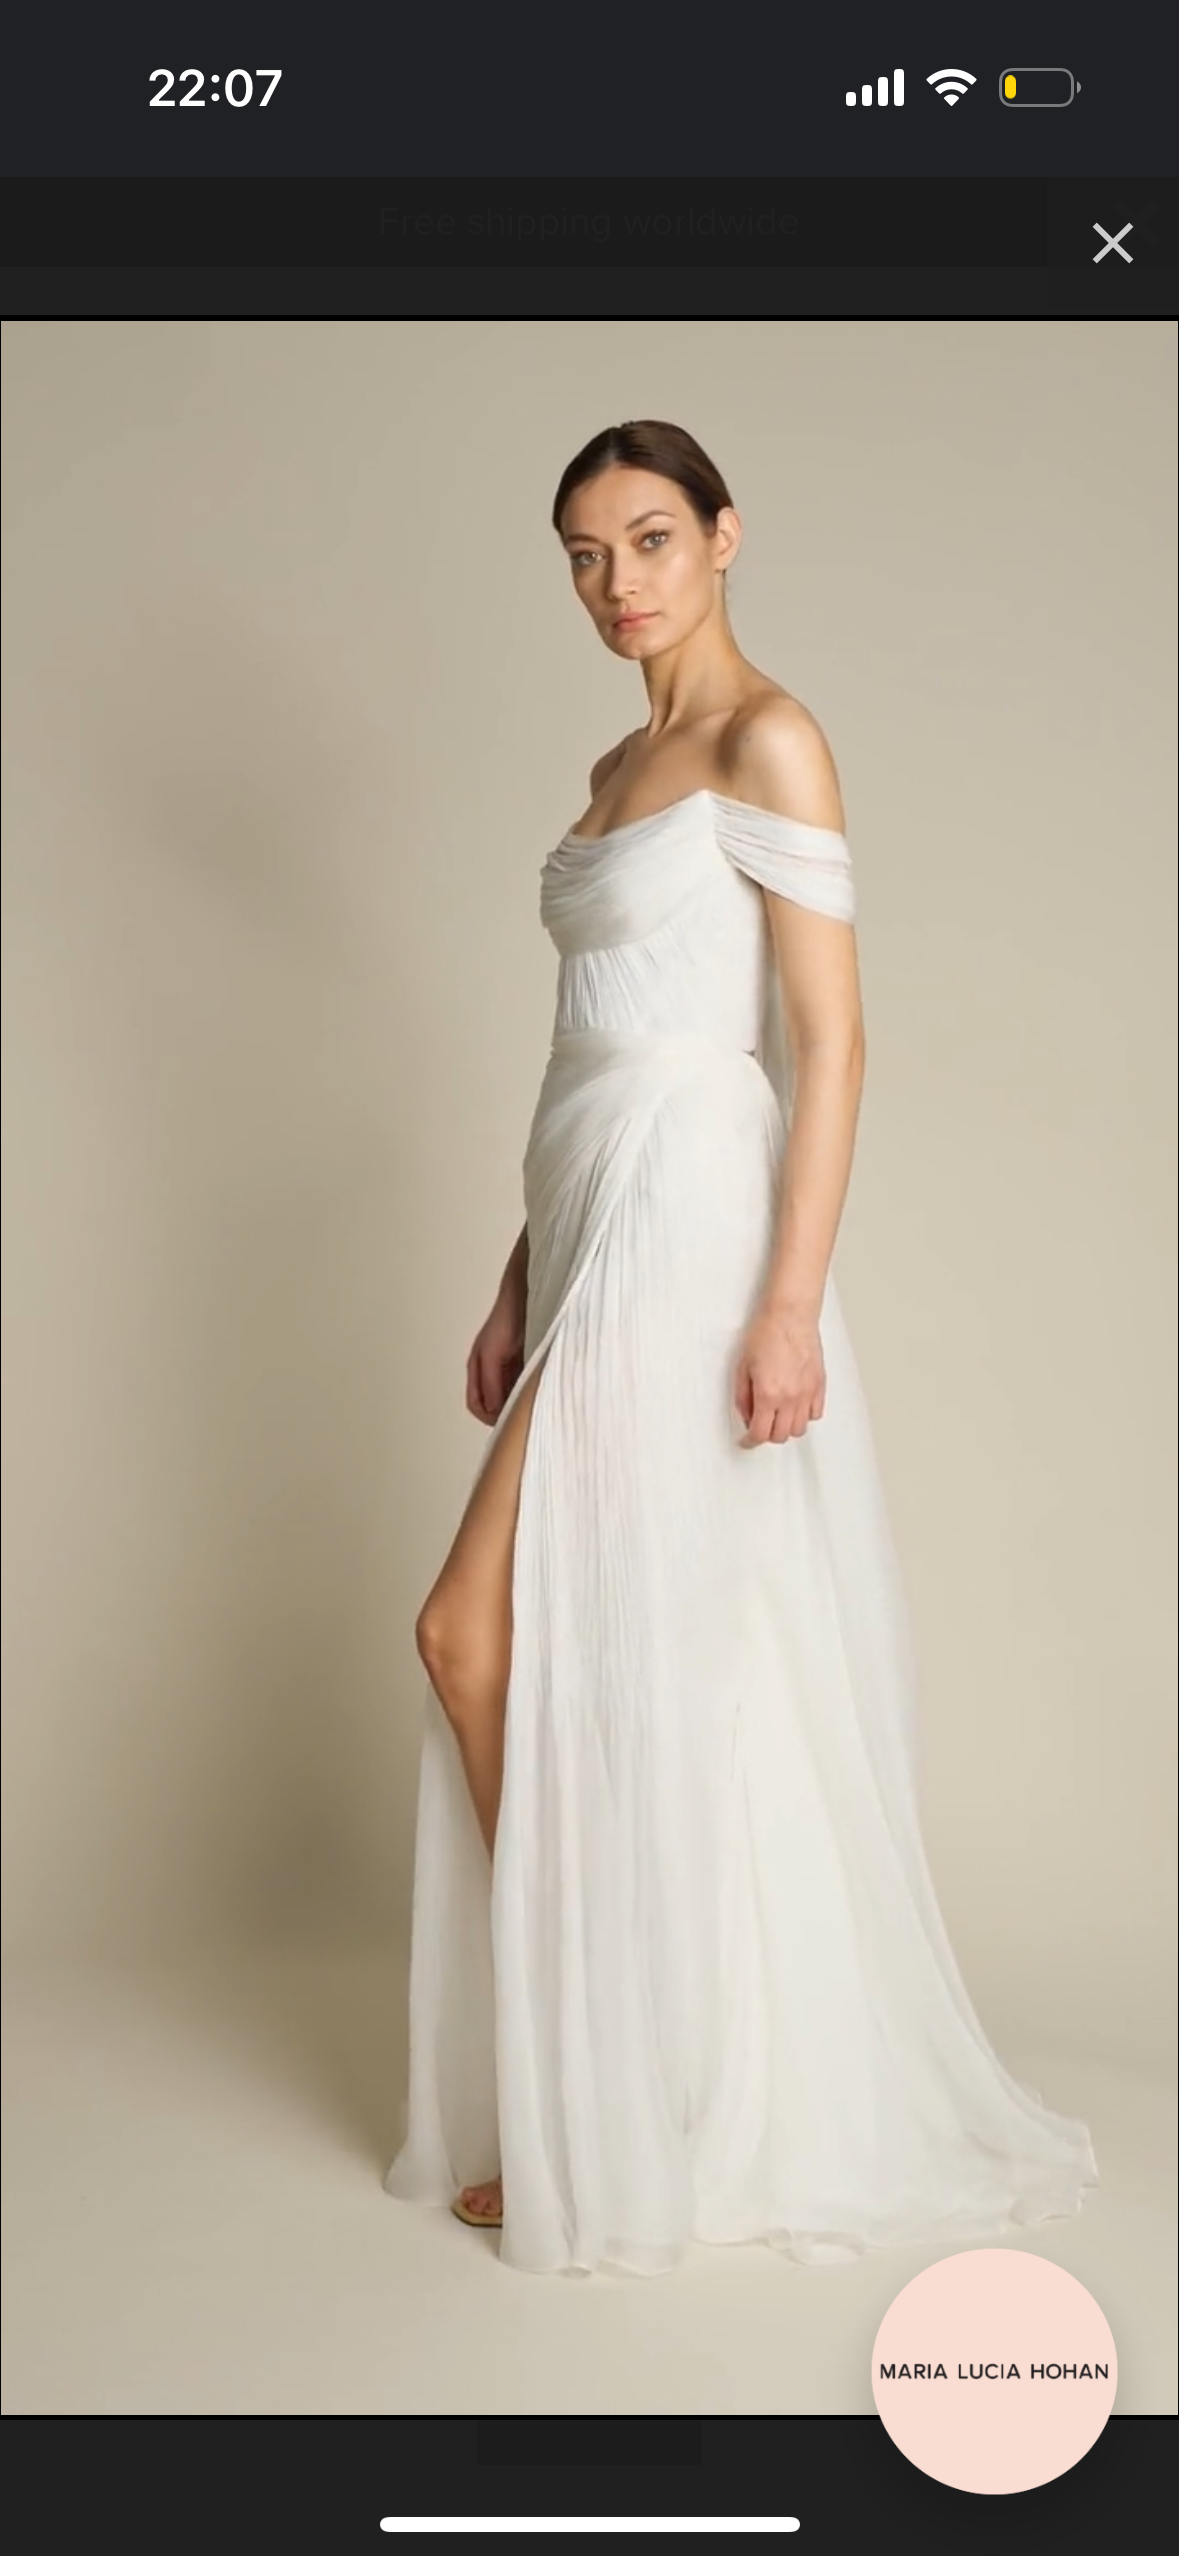
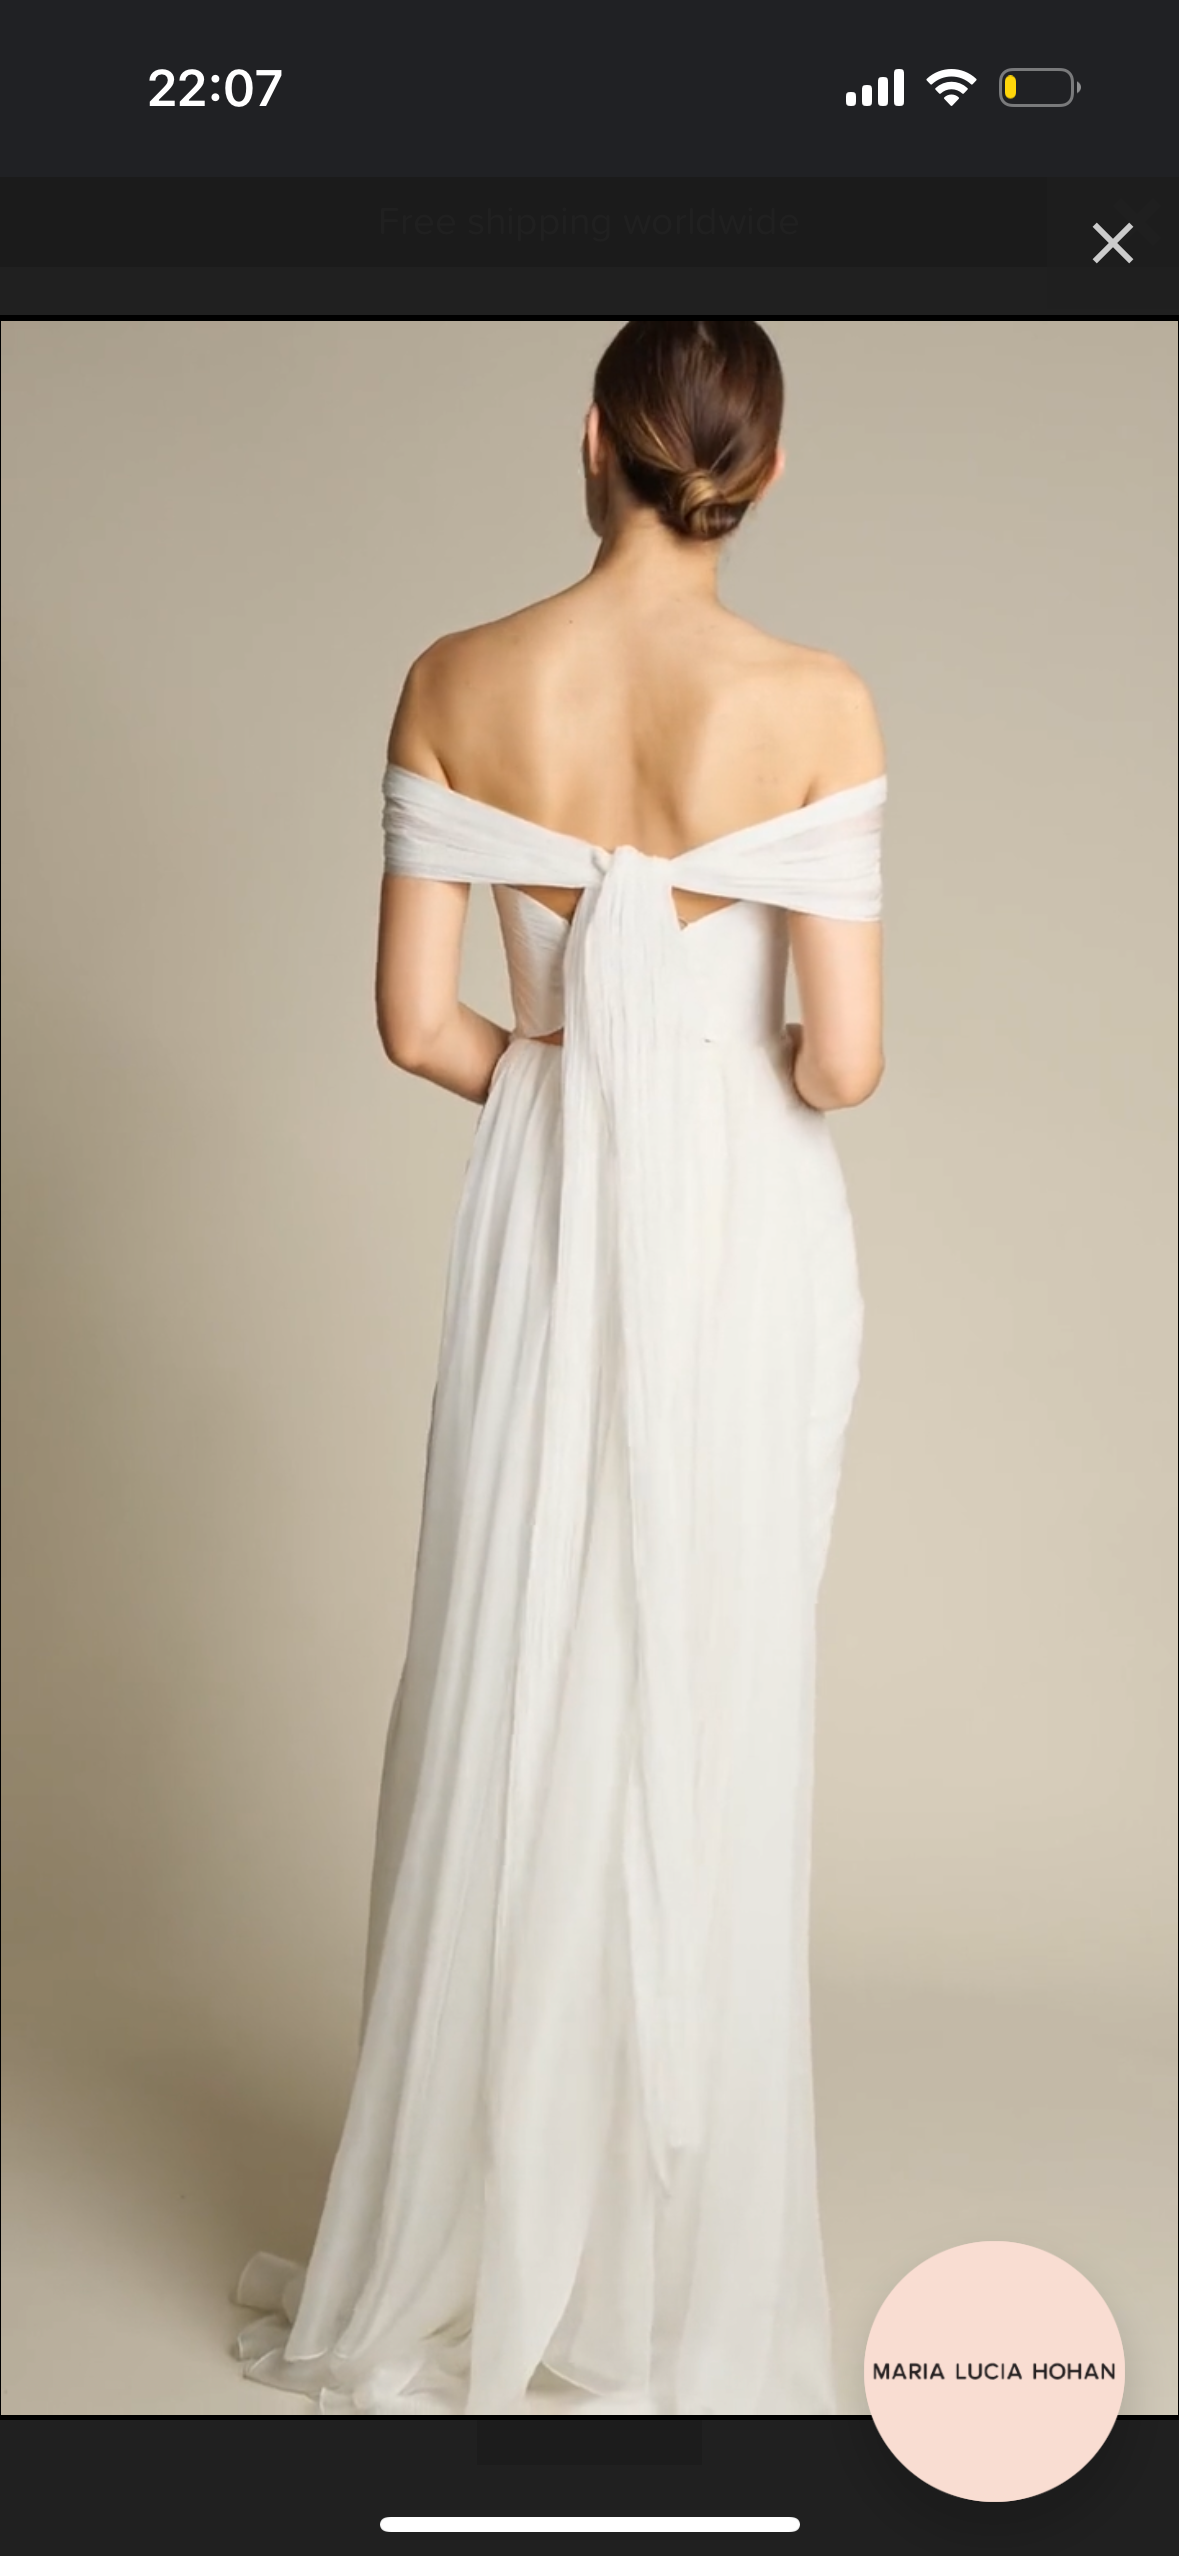
As most brides do, I took to Pinterest and started pinning everything and anything that I sort of liked. As you will see I did a 180 in terms of what I originally wanted, vs what I ended up.
On the right, there are several instances of what I thought I wanted at the beginning. After a fitting at a bridal store, I realized that it wasn’t the direction I wanted anymore. After a lot of back and forth, I finally found the dress I wanted to use as inspiration (below).
Patterns
I did have an OK grasp on sewing before starting this endeavor, but I hadn’t really done too many garments, so I searched for patterns and videos on how to make the elements of my dress that I knew I would need.
I also knew that alterations weren’t an option, and given I wasn’t sure about my body changing in the next 10ish months after starting to get more mobile post ankle break. So I opted for all adjustable patterns i.e split side skirts, and lacing.
I chose a few patterns from ‘The Pattern Establishment’ and found a self draft-able skirt pattern on split side skirts from ‘The Stitchery’.
I ended up going with the Razzle Corset after making both and fit testing.
Cutting and Sewing: Skirt
Cutting my circle skirt pattern came first because it was the easiest thing I could do to dip my toe into this whole project.
Then came making a mockup of the skirt with white muslin, so I could see if the concept worked. Spoiler: It did!


After cutting out and making a mockup I placed and cut out the same pattern on my final fabric. Since they were half circles, I had to do this 4 times, which used up around 10 yards of fabric.
After deciding to do a double circle skirt I had to research how to connect the 4 pieces, and eventually found the blow image showing how it would work. After sewing it together I was able to gather the skirt to fit my waist.


Cutting and Sewing: Bodice
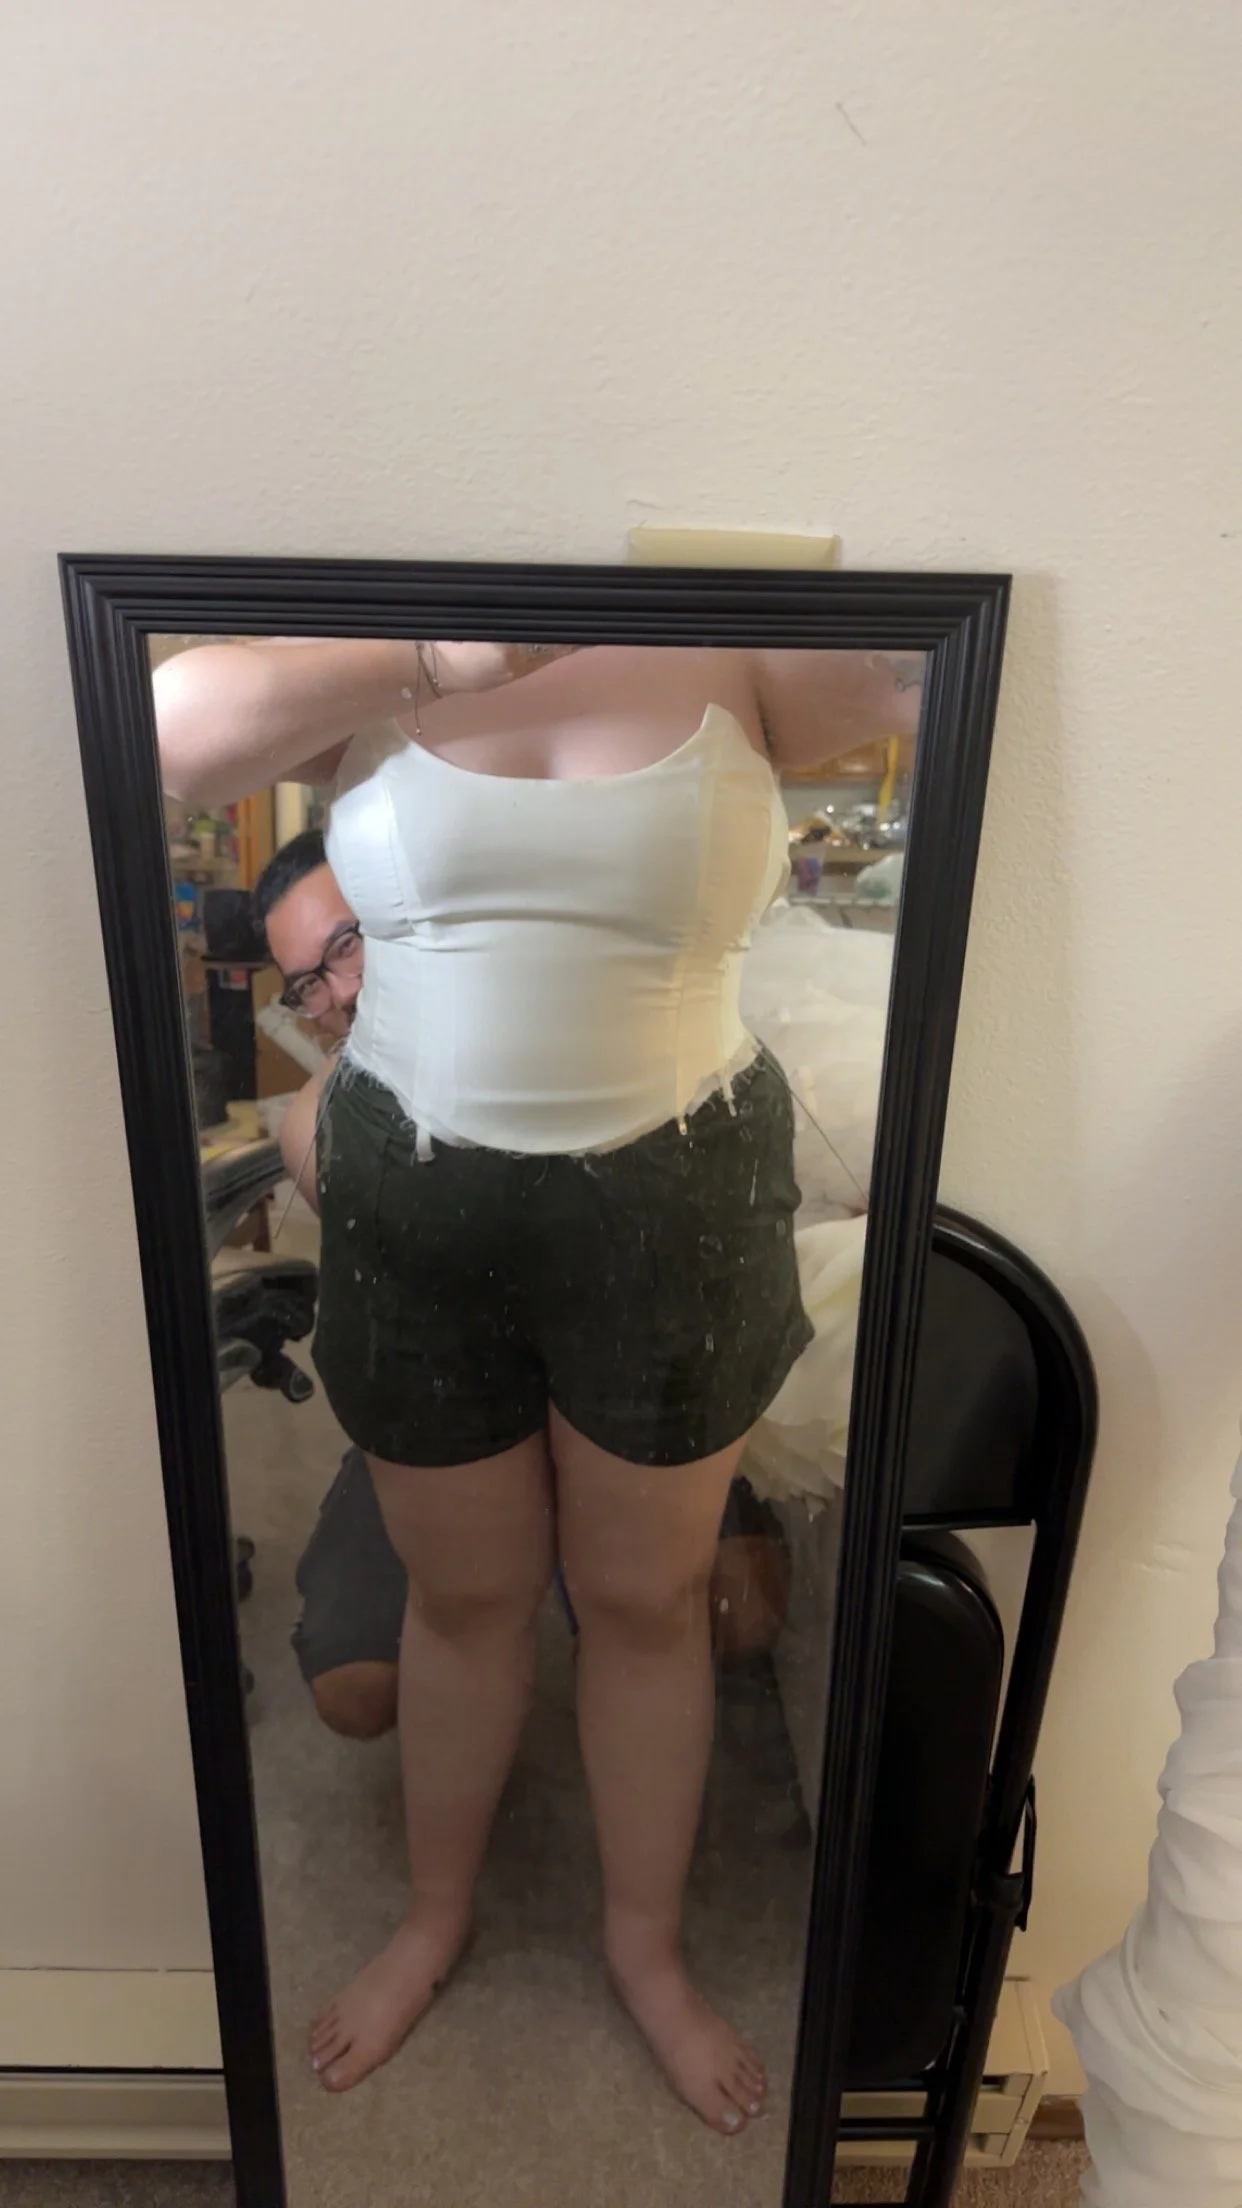
Once the skirt was done I was able to move onto the bodice. I had never made one before, let alone a corset style with boning and altering. I started with a mockup of the ‘Moonlight Corset’ and some rigilene boning to test out the pattern.
It turns out that the pattern was a little too deep cut for my liking so I moved onto the ‘Razzle Corset’ which suited my form much better and moved on to a mockup and eventually a final version of that with spiral steel boning.
From pinning to sewing, the process of making this bodice definitely took some time. And once everything was turned inside out so was adding the grommets.


Draping and Finishing
I know at the beginning of this I wanted to do a split-side skirt, well I ended up doing a modified version of that where the bodice and skirt came together in the front and the closures were separate in the back. (I don’t have a ton of images of those, but I have some from the wedding day of me getting dressed that show it pretty well).
This was probably one of the most nerve wracking and fun parts of the dress. The final finishing touches made everything real.
At this point I had a ‘wearable’ dress, so this was more aesthetics and touches, nothing structural. Below is me playing around with different draping and pleating options.




Credit and Thanks
I just want to add this section to give thank yous and credit where it’s due. I couldn’t have done absolutely everything on my own, and I truly appreciate all the help that these folks gave me throughout this whole process.
Shannon Novy - For helping me learn and problem solve with my dress
Curizma Photography - For taking the best photos for our wedding ever!
Ann Marie Barndt - Helping plan and organize everything
Sabrina Cameli - Helping plan everything and calming me down
Kirby Xiong - Being the best partner I could ever ask for


